This article is valid for both new plans (purchased on or after June 2, 2026) and legacy Private Email plans (purchased before June 2, 2026).
In this guide, you’ll learn how to set up your Namecheap Private Email mailbox in Spark (email client) on Mac.
NOTE: Before connecting a mailbox to any email client, please double-check that your domain name has the correct Private Email DNS records and that the initial mailbox has been created.
- Install the app on your device (if it is not installed yet, you can get it here). After it’s installed, open the app.
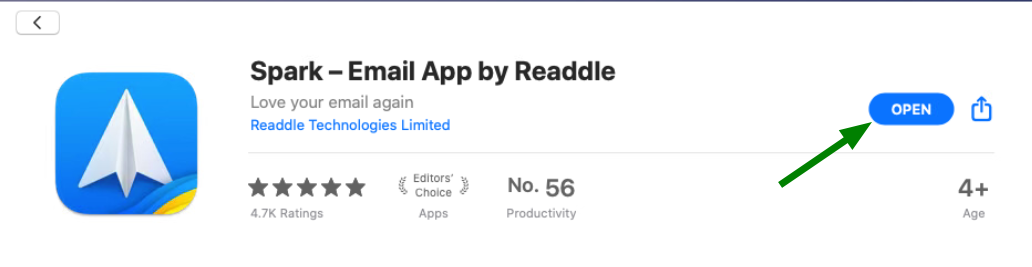
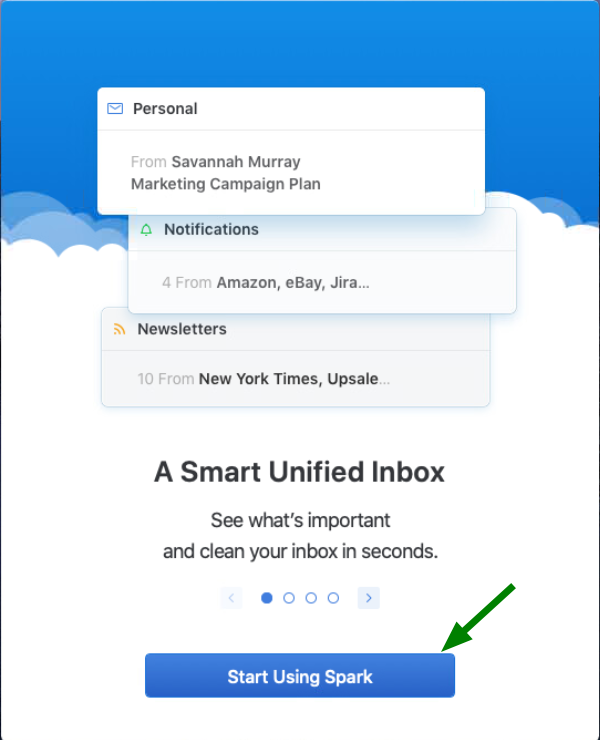
- Click "Start Using Spark."
TIP: If you already have an email in this email client, on the top bar, click Spark >> Add account >> choose Set up manually.
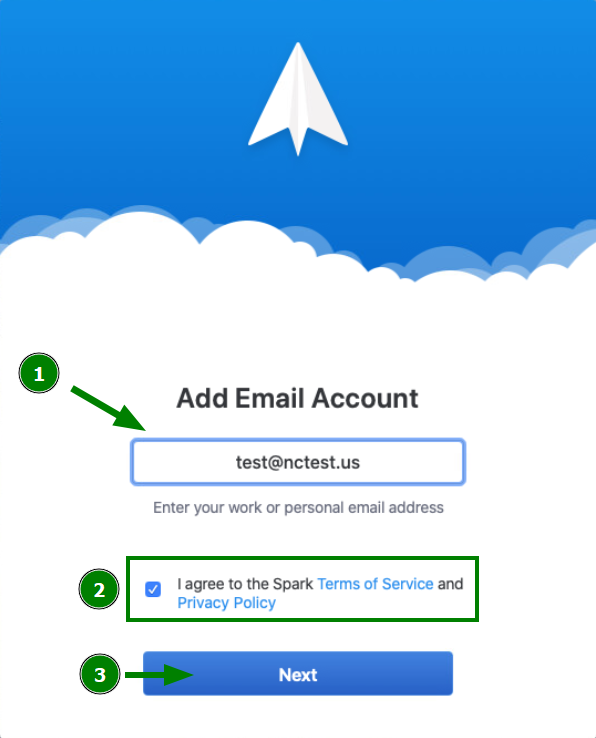
- You’ll be prompted to input your Private Email email address. In this tutorial, we’ll be using test@nctest.us as an example.
Now agree to the Spark Terms of Service and Privacy policy, and click Next:
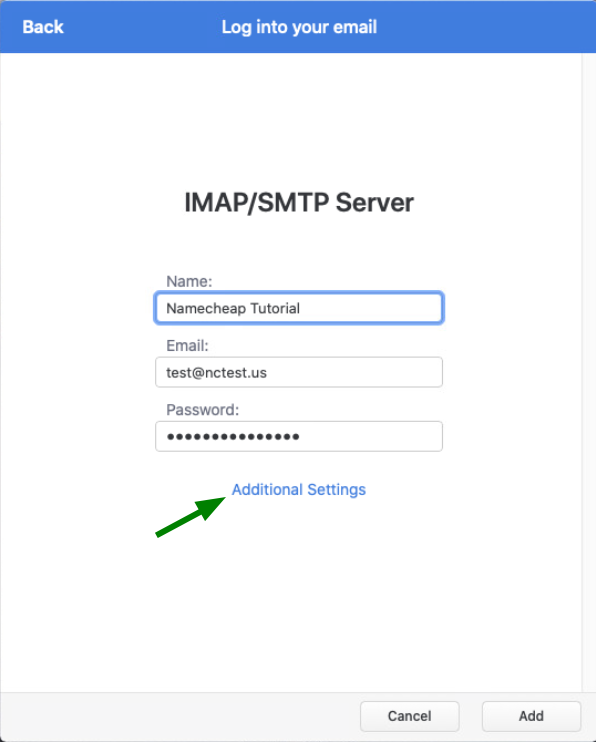
- Please fill in the fields on the screen:
- Name: your name (it will be shown to recipients)
- Email: your Private Email email address (this is pre-filled)
- Password: password for your Private Email account
Once done, click on Additional Settings:
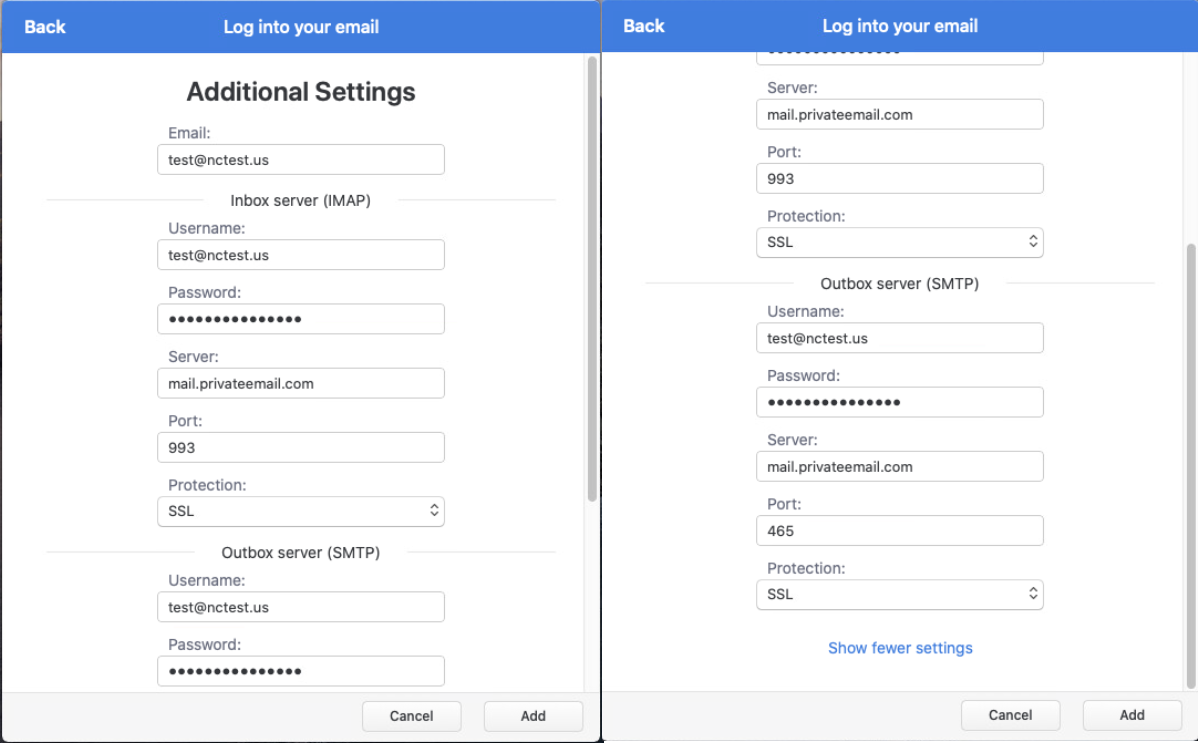
- In this step, you’ll need to input server settings for your email account. Please use the following:
Inbox server (IMAP)- Username: your full email address (we use test@nctest.us in this tutorial)
- Password: password for this mail account
- Server: mail.privateemail.com (please note that it should not be changed)
- Port: 993
- Protection: SSL
Outbox server (SMTP)- Username: your full email address (use test@nctest.us in this tutorial)
- Password: password for this mail account
- Server: mail.privateemail.com (please note that it should not be changed)
- Port: 465
- Protection: SSL
Verify that you entered your details correctly and click Add:
- Wait a minute and click Start Using Spark:
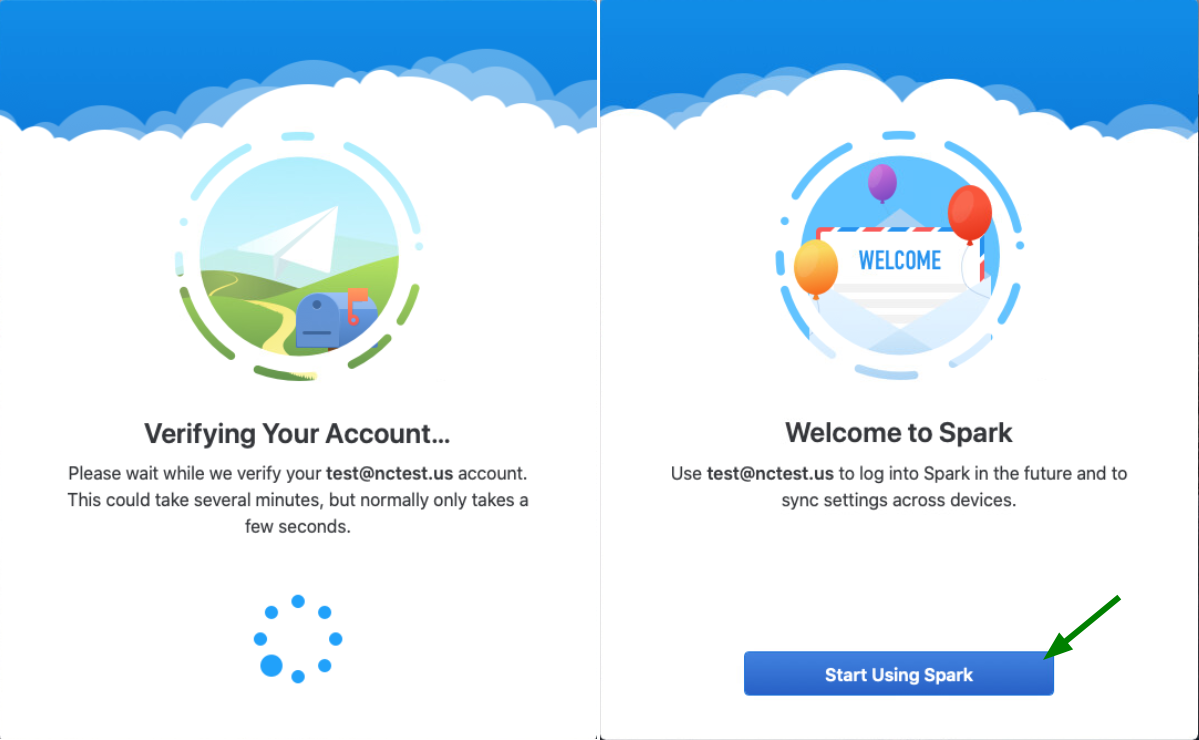
- Success! Your email account is ready.

