Our servers are running on LiteSpeed, and the hosting environment ensures that website content is delivered fast and with optimal performance, resulting in faster page load times. LSCache is a native LiteSpeed plugin and is considered to be the most efficient solution for WordPress websites running on LiteSpeed.
How to disable/enable LSCache
If you prefer to have LSCache disabled for some websites or enable it back, you can do it in the following way:
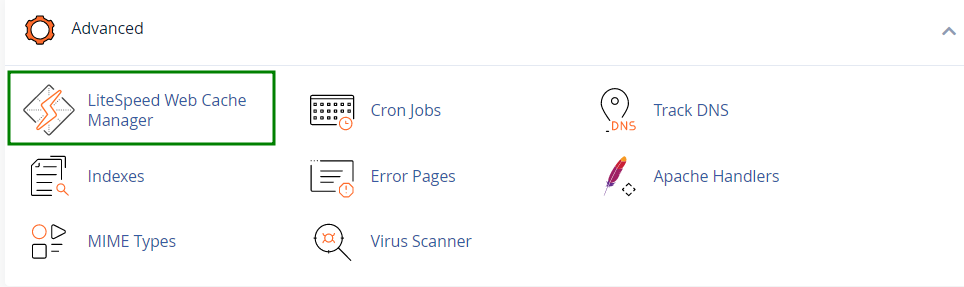
1. Navigate to the
Advanced tab of your cPanel. Click
LiteSpeed Web Cache Manager:
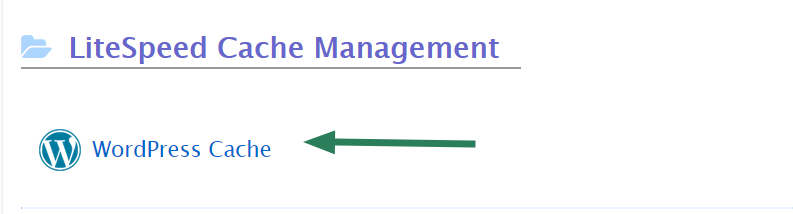
2. Go to
LiteSpeed Cache Management and click
WordPress Cache :
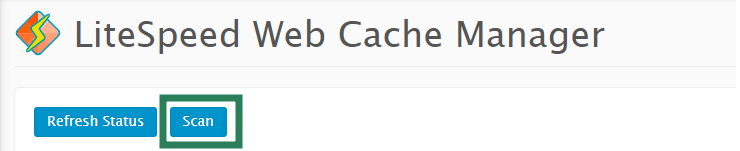
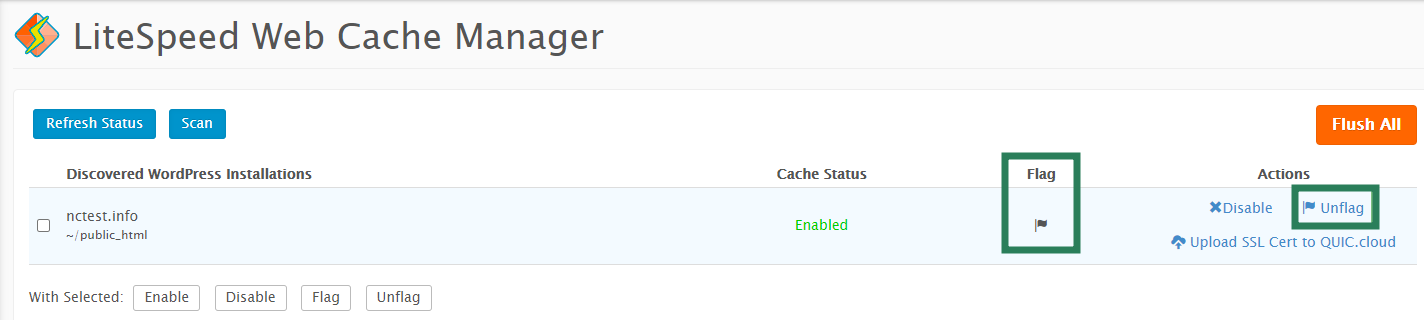
3. You will be redirected to the
LiteSpeed Web Cache Manager menu. Press the
Scan button to find all the WordPress installations present in your account:
4. Find your domain from the list of found WordPress installations and press
Disable:
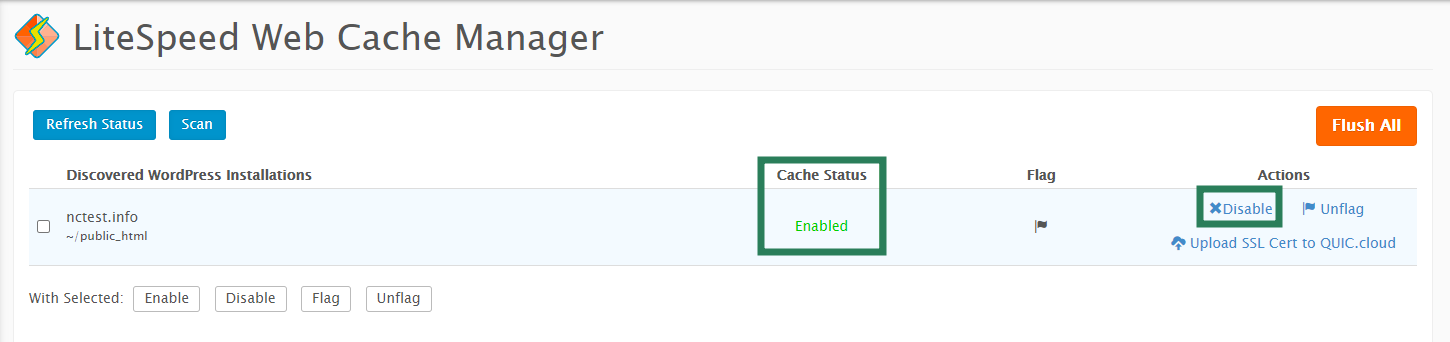
You will see the cache status changed to
Disabled. It can be enabled back at any time by clicking on
Enable:

Additionally, it is possible to use the
Flag option once the LiteSpeed plugin is enabled or disabled for the website, so it cannot be enabled/disabled during a server-wide change. If you need to remove the flag, press
Unflag:
In order to flush the cache files for all your websites, follow these steps:
1. Navigate to the
Advanced tab of your cPanel. Click
LiteSpeed Web Cache Manager:
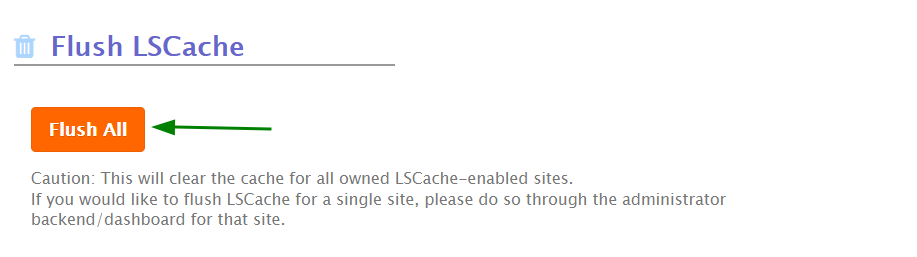
2. Go to
Flush LSCache and click
Flush All:
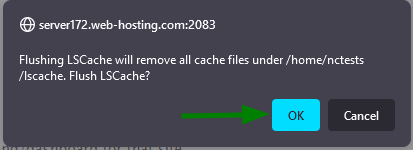
3. Confirm the action in the browser's pop-up window:
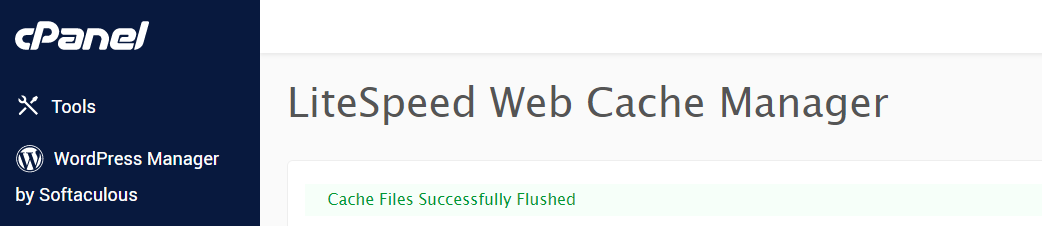
4. When the process is finished, you will see the
Cache Files Successfully Flushed message:
That's it!
Need any help? Contact our HelpDesk
