After your SSL certificate is set up, it’s necessary to direct your WordPress website to the https:// URL. This indicates to your visitors that you care about their safety and data protection.
It’s also important to only have one link for your website in order to improve its SEO rankings. Multiple redirects between different versions of website links also increase its subsequent loading time. Although multiple redirects may seem insignificant, they contribute to your website's performance and your users’ trust in your website.
Update your main website’s URL
Instead of setting up redirects that increase loading time, use only one website URL.
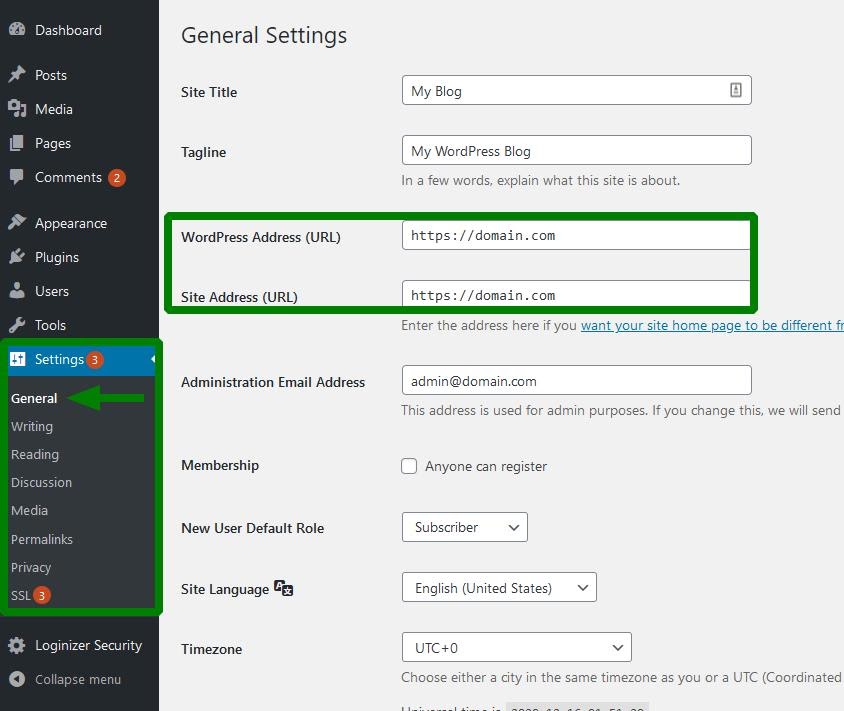
To do this, log in to the admin dashboard of your website and update your domain name in the General Settings:
Now save the changes and click on the Clear Cache button in the upper-left corner of your WordPress dashboard:
You may notice that even after clearing the cache that your homepage or
separate sub links still appear in your browser, along with the warning
sign next to your domain name.
This happens because of mixed
content. In other words, the https:// and http:// references are present
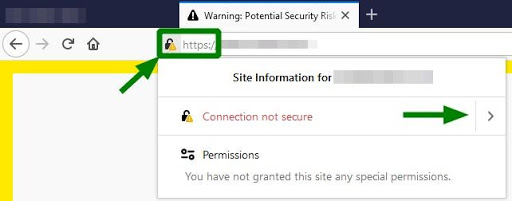
on one page at the same time. The issue looks something like this:
To find out more about what content is exactly being served through http:// , simply click on https:// with the yellow warning sign and then expand the details next to the "Connection not secure" notice. With the help of the Really Simple SSL plugin, however, this is an easy fix.
Install the Really Simple SSL plugin
There are plenty of WordPress plugins working with SSL certificates, redirects, and link updates. For all intents and purposes of this article, we will focus on the one that’s fully compatible with EasyWP Managed WordPress Hosting.
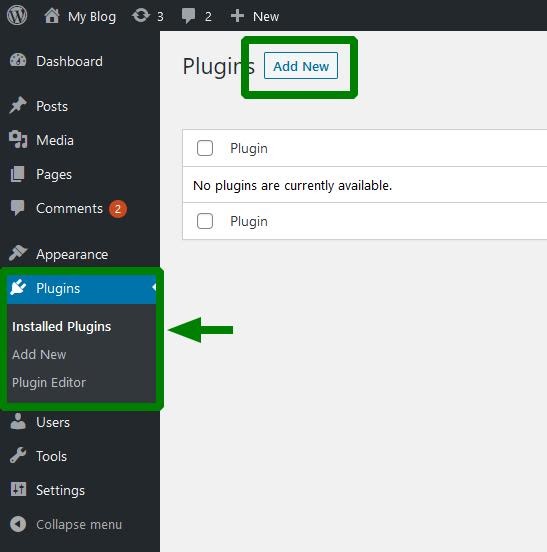
To start, proceed to the Plugins section of your WordPress admin dashboard and click on the Add New button:
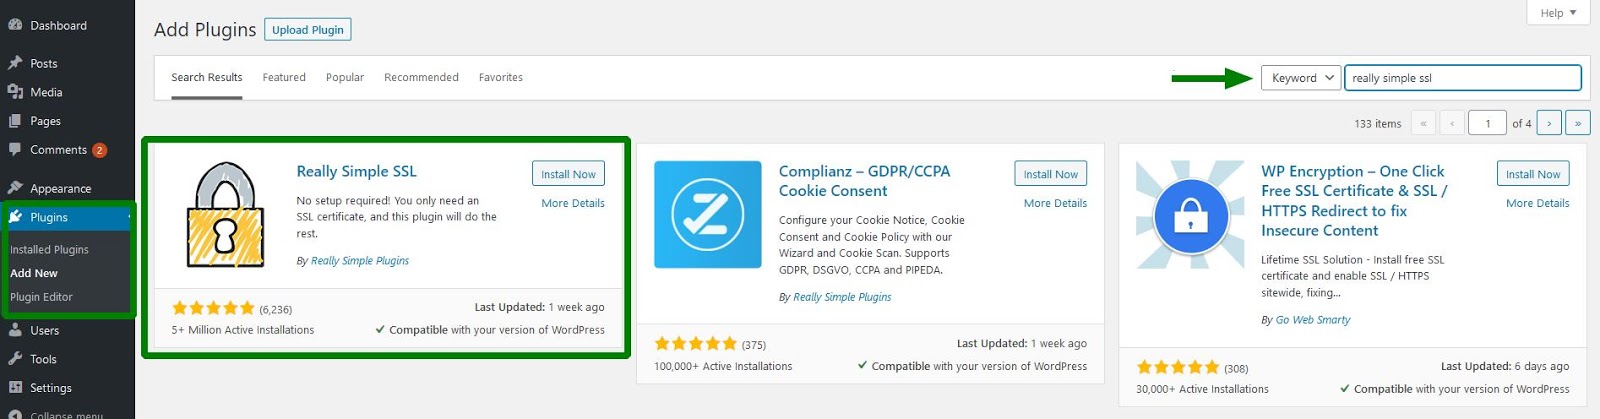
Now use the search bar to find the Really Simple SSL plugin:
 Once you’ve installed it, now it’s time to activate it:
The SSL-related settings will be immediately added to your dashboard. After the plugin is activated, you’ll then be taken to the Plugins section. Click on the Really Simple SSL settings to visit the editing menu:
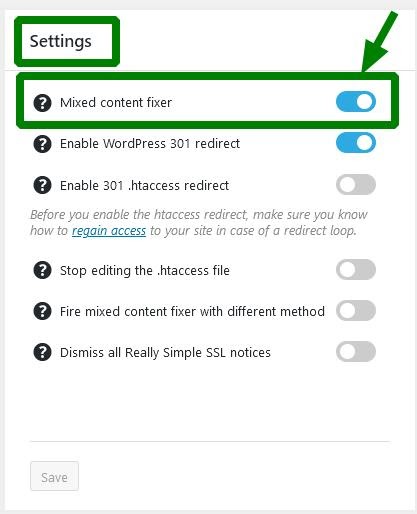
 In order to ensure that all the content is served through https:// you’ll see that the Really Simple SSL plugin also offers a Mixed content fixer setting:
Once you’ve selected this and saved your changes, the URLs based on your website’s domain name will be automatically updated. Now clear the cache of your website to get rid of any outdated references:
These simple steps will set your website and all of its pages to https://.
NOTE: The https:// only applies to website content that is yours. For example, if an image on one of your web pages is linked from another source that does not have an SSL certificate, the link will appear without the https://. We recommend to only use uploaded images to the Media gallery of your website to ensure that mixed content does not appear.