SiteWorx is a website owner interface that you can use to manage your email settings, databases, domains, statistics, and files.
To create a SiteWorx account, follow these steps:
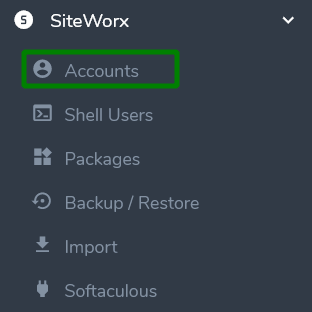
1. Login into InterWorx and navigate to the Accounts menu:
Old version:
New version:
\
2. From here, you’ll see a list of your existing SiteWorx accounts. Click on the Add SiteWorx Account option to add a new account:
Old version:
Or click the Plus button if you are using the new version:
The next page is the account set up screen.
Now fill in the form to create your new account. You need to paste the following details into their respective fields:
Master Domain - the domain name you would like to set up a SiteWorx account for without www. For example, domain.com.
Unix User Name - will be filled in automatically, or you can change it to any other name you want.
NOTE: the username cannot be changed after the initial account creation.
Nickname - this is the name that will appear in the list of SiteWorx accounts. This field is optional.
E-mail - an email address for the SiteWorx account.
Password - type or generate a password for the SiteWorx account. The indicator on the right will show you the level of password security.
If you wish to change the Language and the Theme, select the Package Features tab.
Old version:
New version:
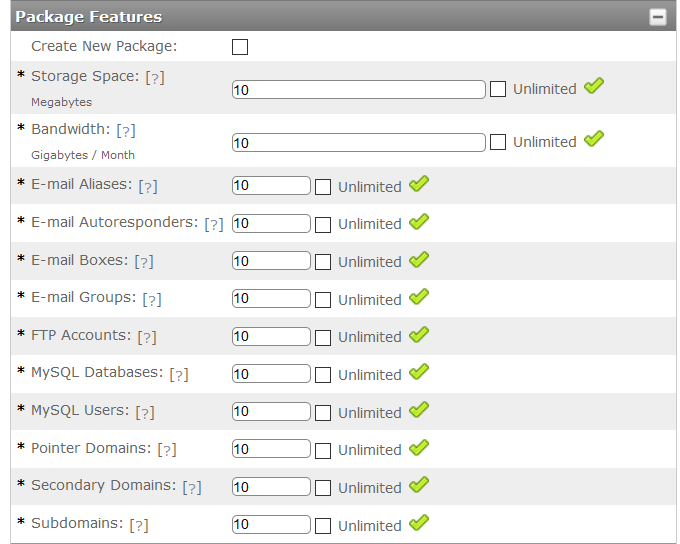
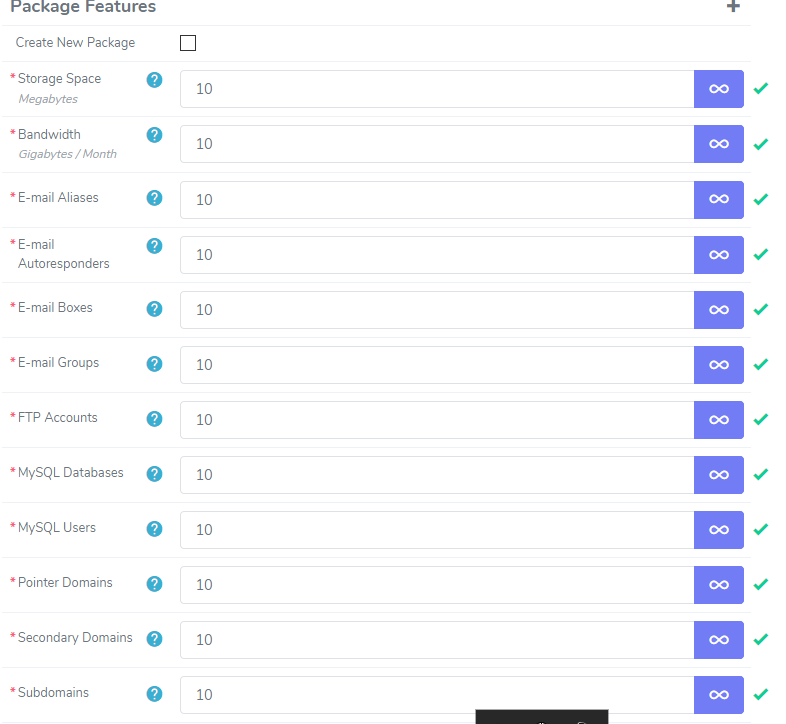
4. In Package Features, you can allocate storage space, bandwidth, number of email accounts, subdomains, addon domains (secondary domains), FTP accounts, etc. It is mandatory here to fill in all the fields.
Old version:
New version:
5. There are many more options to manage your SiteWorx account to complete your account setup. To access these, just expand the Package Options and choose from the drop-down menu if you want to provide the account with such settings or not.
Old version:
New version:
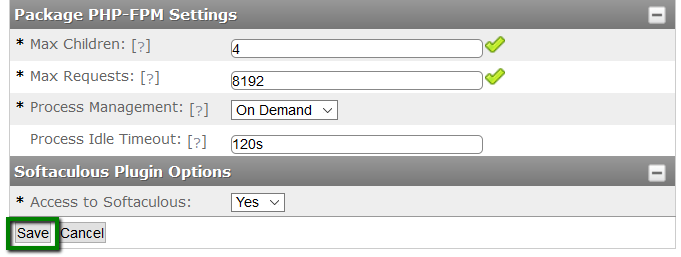
 6. More settings can be found in the Package PHP-FPM Settings and Softaculous Plugin Options tabs.
7. Make sure that all the required fields are filled in and click Save.
Old version:
New version:

8. Congratulations, your SiteWorx account was successfully created
If you would like to change the setup permissions and limits, just click on the Edit button next to the account in question. The Account management menu will appear, and you will be able to update the information.
Old version:
New version:

By default, new accounts don’t have shell access enabled. However, it can be done manually.
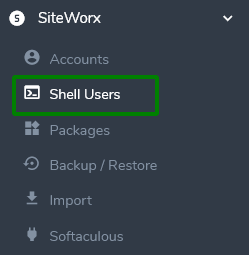
1. To enable shell access, go to the Shell Users menu.
Old version:
New version:
To the right, you will see the status of the shell account which should show as Disabled.
Old version:
New version:

2. To change the status, select the needed account, then choose Enable from the dropdown box and click Go.Old version:
New version:

3. Confirm the changes in the next pop-up window. This will enable Shell access for the chosen account.
Old version:
New version:

That’s it!