For the following instructions, we used the Almalinux operating system with cPanel installed. However, the same basic steps apply to virtually all Linux distributions, provided they have Apache as their web server. Graphical interface parts from cPanel are, of course, cPanel-specific.
This command has the following values:
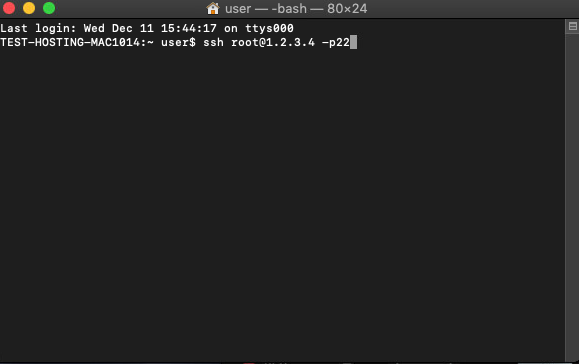
Serverip - the IP address of your VPS or Dedicated server
PORT - 22.
If you're using Windows OS, you can perform the above steps on Windows 10 and 11 using Windows Terminal app, which can be installed via Windows Store
here.
Alternatively, you may also log in via an SSH client. You can find a list of free SSH clients
here.
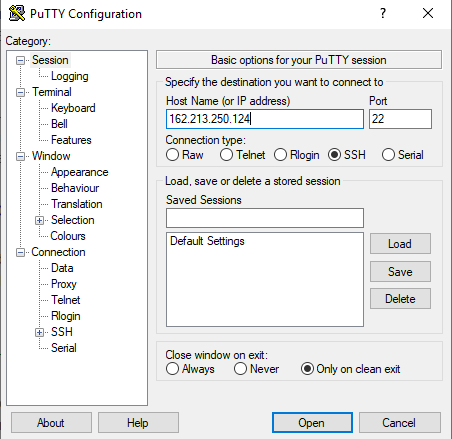
In the next example, we used the PuTTY SSH client to install Node.js:
1. Open PuTTY to launch the configuration screen. Here, you should fill out the following fields:
Host Name: the IP of the server;
Port: your server’s port (22 by default);
Connection type: SSH.
It should look something like this:
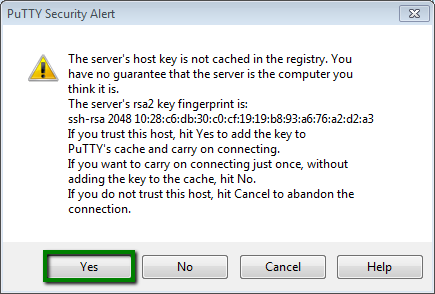
3. When prompted with
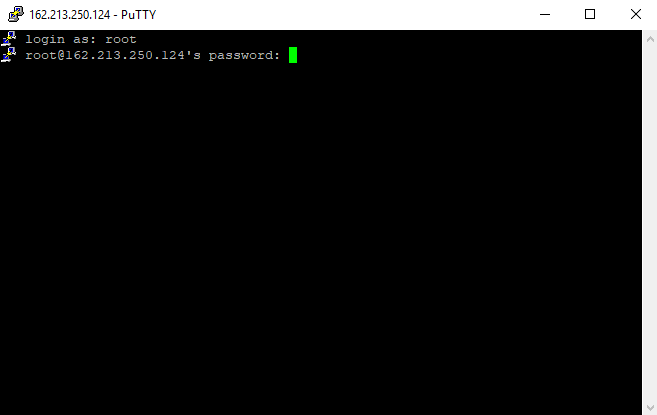
login as:
Enter your username -
root and press
Enter.
After that, enter your
root password and press
Enter.
PLEASE NOTE: your password won’t be visible upon entry. It is an intentional security feature.
Completing these three steps logs you into your SSH server. As an alternative, you can also access root user shell from WHM >> Terminal menu.
From here, you can install Node.js.
Installing Node.js on a server using cPanel
cPanel control panel provides its own implementation of Node.js available for installation. To use the official implementation, we strongly recommend using the official guide by cPanel which you can find via
this link. It has in-depth information about using the cPanel implementation of Node.js.
The official cPanel implementation of Node.js is available in versions 16 (this is the
only option available on CentOS 7), 18, 20, 22.
As such, in this guide we will be installing Node.js builds provided by Nodesource, which are available in various versions.
For Almalinux 8, using another Node.js version builds from Nodesource is possible. You can check the list of various Node.js versions for RPM-based Linux distributions
here.
In this example, we will be installing Node.js on Almalinux 8 server with cPanel.
1. Make sure that your system is up-to-date with the following command:
sudo dnf update -y
2. List the available versions:
sudo dnf module list nodejs
3. From the list above select the desired version and install it. Here is a command for installing version 14:
sudo dnf module install -y nodejs:14NOTE: In case you need to use the Yarn package manager, use the following commands to install it as well:
curl -sL https://dl.yarnpkg.com/rpm/yarn.repo | sudo tee /etc/yum.repos.d/yarn.repo
sudo dnf install yarn -yNOTE FOR UBUNTU USERS: Installation instructions for Ubuntu and other DEB-based distributions can be checked
here.
Proper commands to install Node.js will be displayed by the pre-installation script after running it.
4. Node.js and NPM should now appear on the server. You can double-check they are installed with the following commands:
node --version
npm --versionRunning Node.js Apps
This part of the guide describes the installation of Node.js and NPM on the server.
Naturally, you would like to use them with an actual application. First of all, it is required to upload the application files.
In the case of a cPanel server, we suggest uploading your application files within the folder of a cPanel account you intend to use the app on. However, it is not a requirement to use the root directory of a domain (public_html folder for the main domain, for example).
In our example we will upload the files to the "node" folder within a cPanel account.
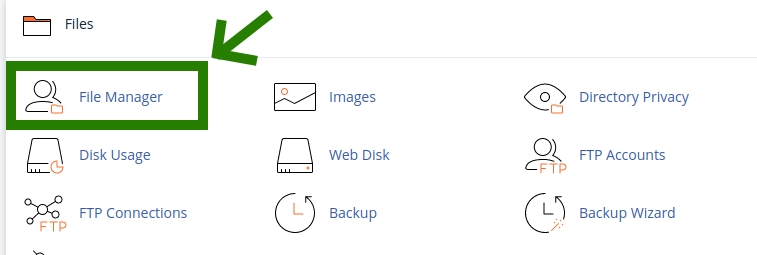
1. Open up your cPanel and go to
File Manager:
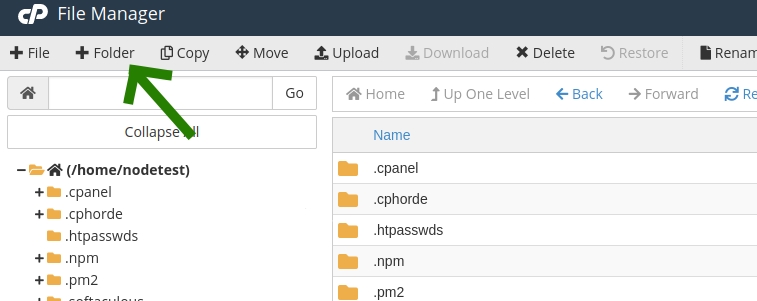
2. Click on the
+ Folder button on the upper-left taskbar (pictured below) and enter the desired name of a folder in the prompt that comes up. Then, press
Enter:
3. Double-click on the newly created folder to enter it.
4. Click on the
Upload button on the upper-left taskbar, click
Select File, and select the application archive folder from your computer.
5. Right-click on the uploaded archive and click
Extract.
After extracting, make sure all main application files are in the desired folder. You may move files and folders by selecting them via
Ctrl+Click, right-clicking on the selected entries and clicking
Move. Then, you may enter the directory to move them to.
6. Run the application.
There are different possible configurations for Node.js apps; as such, there are multiple ways to run them.
First of all, we suggest you run the application itself as your
cPanel user,
not as a
root user. This means performing actions from the Logging onto the server section of this guide but using your cPanel username and password instead of root user credentials.
Alternatively, you can execute the following command while being logged in as a root user:
su cpanelusername
Where
cpanelusername is your actual cPanel username. This will switch the command shell to your cPanel user.
In addition, the cPanel >>
Terminal menu will also use the cPanel user’s command shell.
We also suggest you refer to guidance provided by the developers of a Node.js application you intend to use. However, in general, there are two ways to run Node.js applications:
To run a Node.js application that is production-ready and has a package.json file included, you can use the following command:
npm start --production &
In the case you are running a Node.js app that does not have a package.json file included, you can use the following prompt (given the main app file is named "my_app.js"):
node my_app.js &
In this case, you won’t be able to manage this application with npm.
NOTE: Depending on the used application, you may also consider using the
pm2 module. It will daemonize your Node.js app and make it less prone to crashing.
How to stop an application
To stop a running Node.js application, you can execute the following command via SSH:
pkill node
This command kills any Node processes on the server.
Connect your Website with a Running Node.js App
Apache is standard for cPanel installations. If you run Apache, you can use a specific
.htaccess file code to make your site work with the Node.js app. Follow these steps:
1. Open up your cPanel and go to
File Manager >>
public_html folder.
NOTE: public_html is the folder of your site if the domain you are using is the primary domain of the given cPanel account. In case your domain is an addon domain, please check the cPanel >> Domains menu to see what folder it uses.
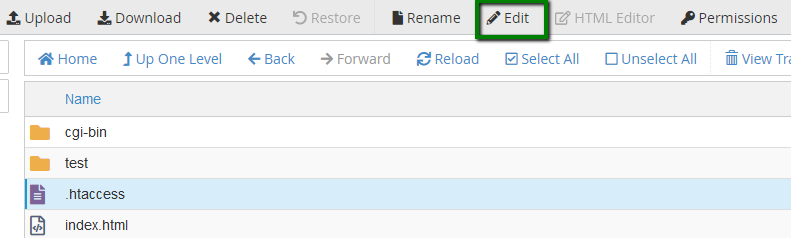
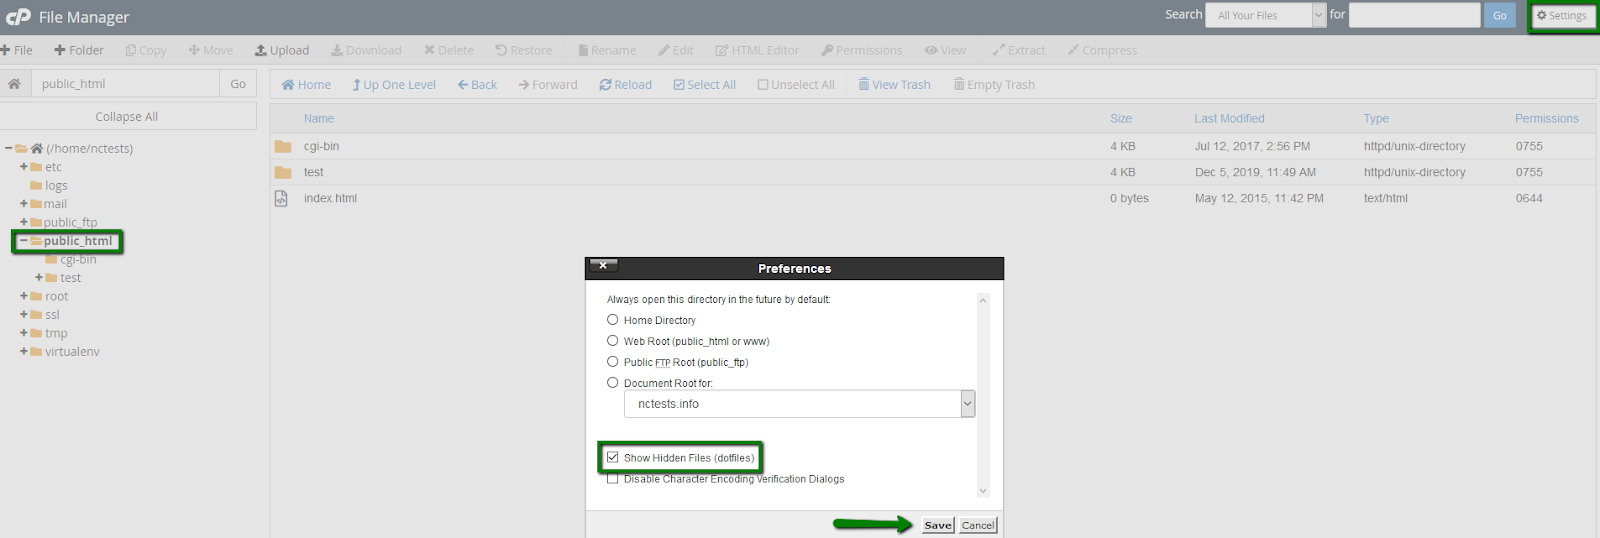
2. Click on the Settings button on the upper-right and make sure that the Show Hidden Files (dotfiles) option is checked. Click Save after that.
3. Click on the .htaccess file in the folder and click Edit:
In case the .htaccess file does not exist yet, create it using the
+ File option on the upper-left and create the file.
4. Enter the following code:
DirectoryIndex disabled
RewriteEngine On
RewriteRule ^$ http://127.0.0.1:XXXXX/ [P,L]
RewriteCond %{REQUEST_FILENAME} !-f
RewriteCond %{REQUEST_FILENAME} !-d
RewriteRule ^(.*)$ http://127.0.0.1:XXXXX/$1 [P,L]
Now, replace
XXXXX with the port your Node.js application is working on.
5. Click
Save Changes on the upper-right:

That’s it! Your site should now display the Node.js app, provided your domain is correctly pointed to the server via DNS.