This article is valid for Private Email subscriptions purchased before June 2, 2026.
Depending on the phone, it is possible to add the Private Email mailbox on Android 9.x.x in two different email applications:
We will use the test email account tutorials@nctest.info to show you how to configure the mailbox in these two email applications. To start the configuration, please follow these steps:
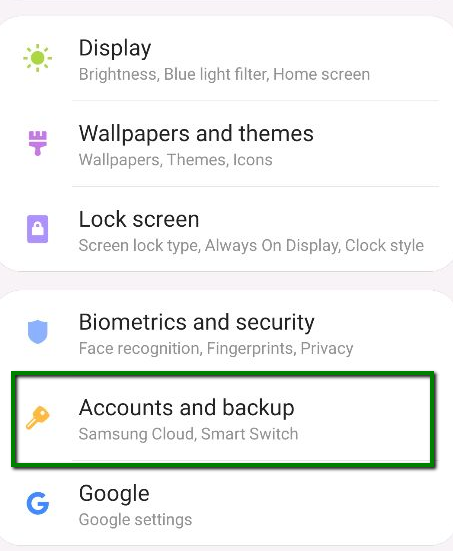
1. Open your Android device Settings and tap the Accounts and Backup menu (depending on the phone, this menu can be called Accounts or Cloud and Accounts):
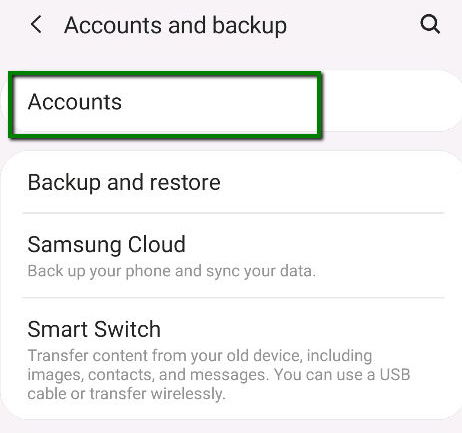
2. Choose the Accounts tab:
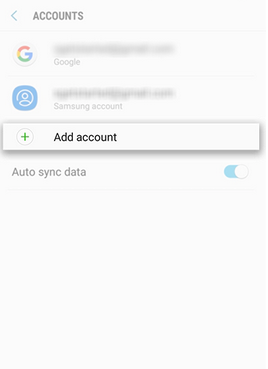
3.Scroll down the screen and tap the Add Account option:
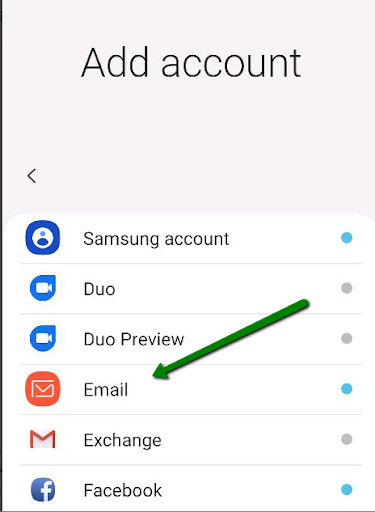
Choose the email account you wish to set up depending on the email application.
To configure the mailbox in the default Android email application, follow the next steps:
1.Choose Email:
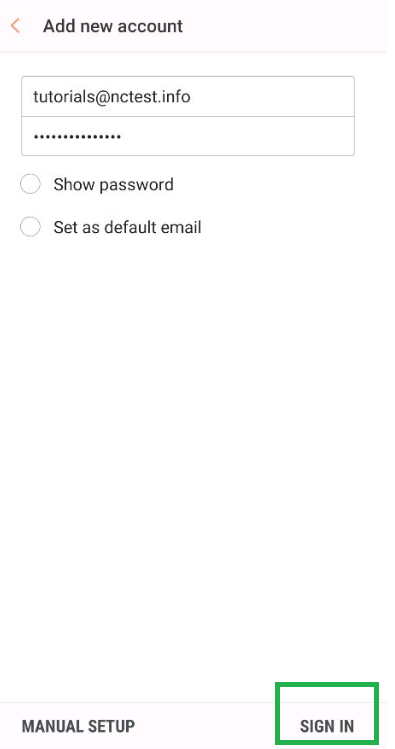
2.Enter your Private Email address (tutorials@nctest.info, in our example) and corresponding password in the appropriate fields and click Sign In:
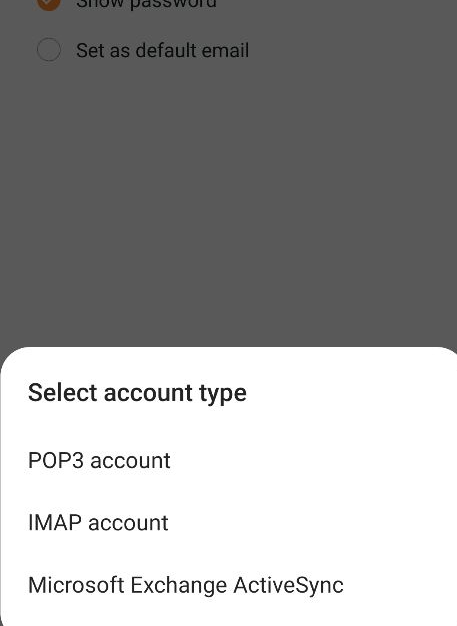
3.Choose protocol type IMAP or POP3.
We strongly recommend you select IMAP:
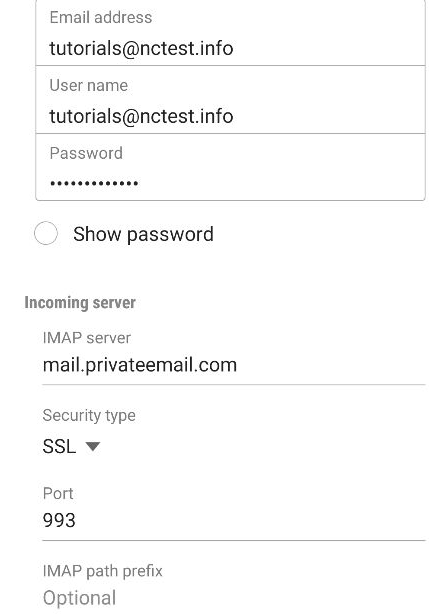
If you choose the IMAP protocol, you will need to indicate the following details:
Email address: full email address
Username: full email address
Password: password for the mailbox
Server: mail.privateemail.com (please note that it should not be changed)
Port: 993
Security Type:SSL/TLS
Click Next:
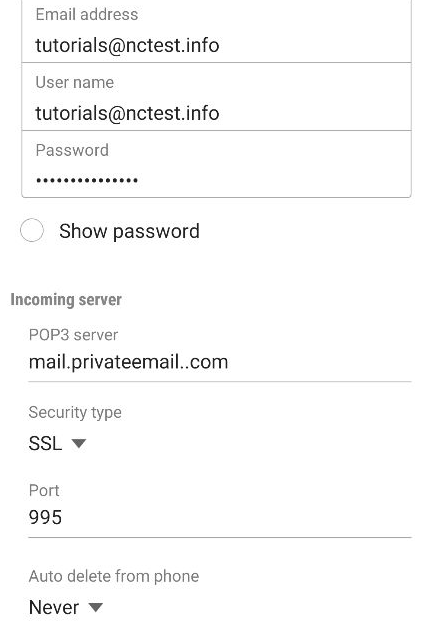
If you choose the POP3 protocol, you will need to indicate the following details:
Email address: full email address
Username: full email address
Password: password for the mailbox
Server: mail.privateemail.com (please note that it should not be changed)
Port: 995
Security type: SSL/TLS
Click Next:
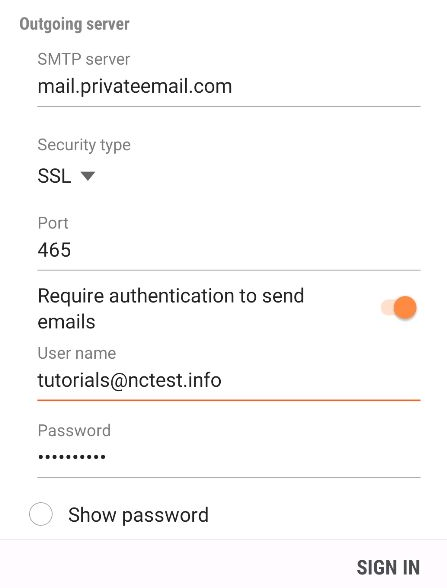
5. Indicate the settings for the SMTP server in the following way:
SMTP server: mail.privateemail.com (please note that it should not be changed)
Port: 465
Security type: SSL/TLS
Require authentication to send emails: should be checked
Username: full email address
Password: password for the mailbox
6.Click Sign in to finish the setup.
That’s it! The email account is added to the Android email application.
Gmail application
To configure the mailbox in the Gmail application, follow these steps:
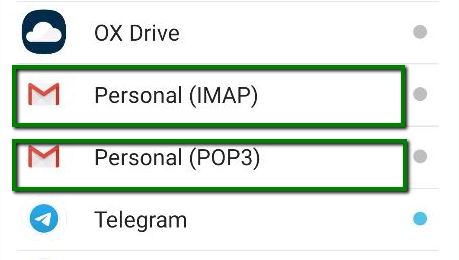
1.Choose Personal (IMAP) or Personal (POP3) depending on the protocol type you wish to configure.
We strongly recommend you select IMAP:
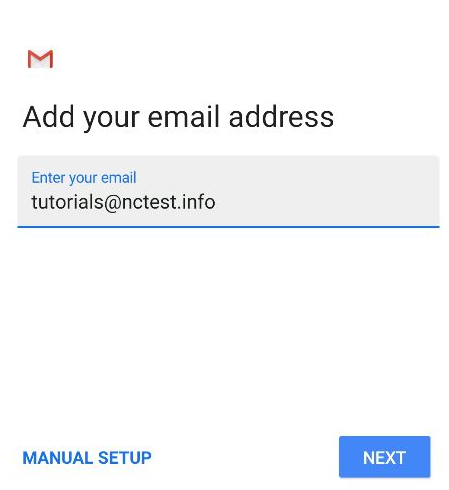
2.The next screen will prompt you to enter your email address. Type your full Private Email address (tutorials@nctest.info in our example):
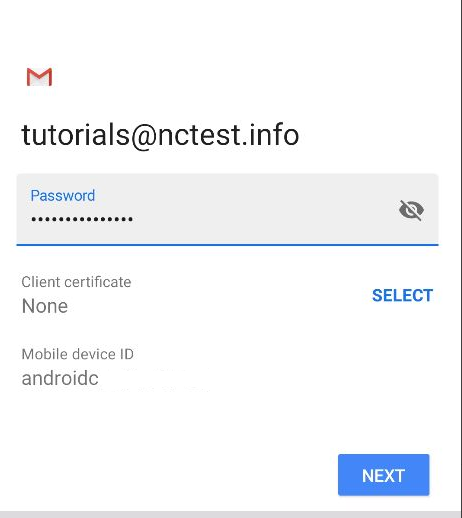
3.Once ready, tap Next to proceed to the next step. You will need to indicate a valid password to the mailbox:
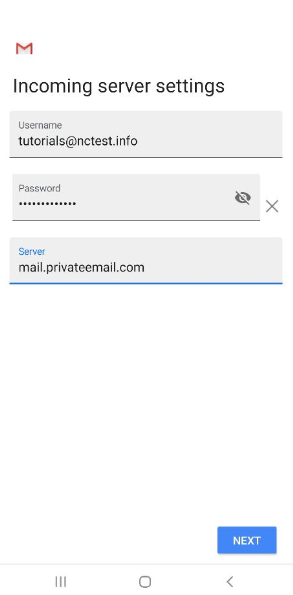
Indicate the Incoming server settings with the following details:
Username: full email address
Password: password for the mailbox
Server: mail.privateemail.com (please note that it should not be changed)
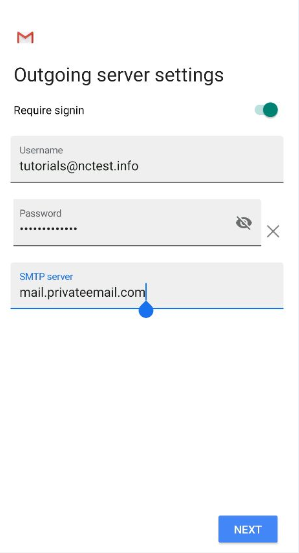
4. Tap Next and indicate Outgoing (SMTP) settings:
Require signin: should be checked
Username: full email address
Password: password for the mailbox
Server: mail.privateemail.com (please note that it should not be changed)
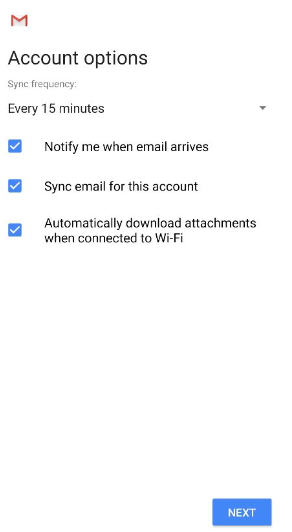
5.Once ready, tap Next to verify SMTP settings and finish the account setup:
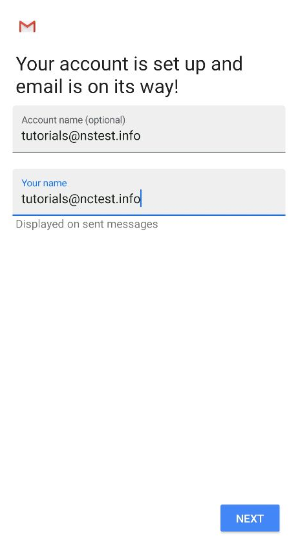
6.Type the name of the account to finish the setup:
Account Name: the name for the email account on your device to distinguish it from other email accounts added in the Gmail application
Your Name: the name that will be used in the From field of sent emails
Click Next to finish the setup:
That’s it!
If you have any additional questions, feel to contact our
Support Team.