A
Contact Form is a great way for your visitors to get in touch with you without revealing your actual email address. Many WordPress plugins allow the adding of a contact form to one of your website pages. Below, we will describe how to set up
Contact Form 7, one of the most popular plugins. It’s full of features and is easy to use.
How to configure the Contact Form 7
How to configure SMTP in WordPress
How to configure the Contact Form 7
To add a contact form to your website, please follow these steps:
1. Log in to your
WordPress Dashboard using
yourdomain.com/wp-admin link or following steps
from this guide.
2. Go to the
Plugins menu >>
Add New:

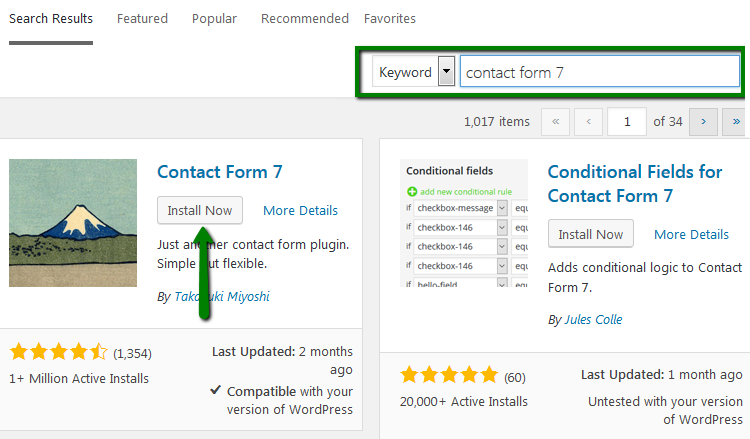
3. Search for the Contact Form 7 plugin and click on the Install Now button when you find it:
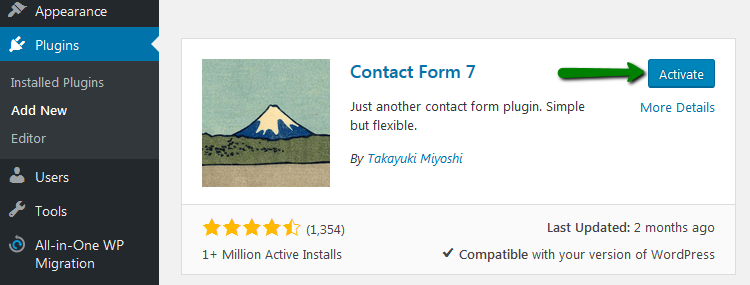
4. After the installation, activate the plugin:
5. Once you've activated the Contact Form 7 plugin, you'll find a new
Contact menu on your left-hand toolbar in your WordPress dashboard. To add a new contact form go to
Contact > Add new:

The page will have four tabs that allow you to customize your form. Let's take a look at the first two.
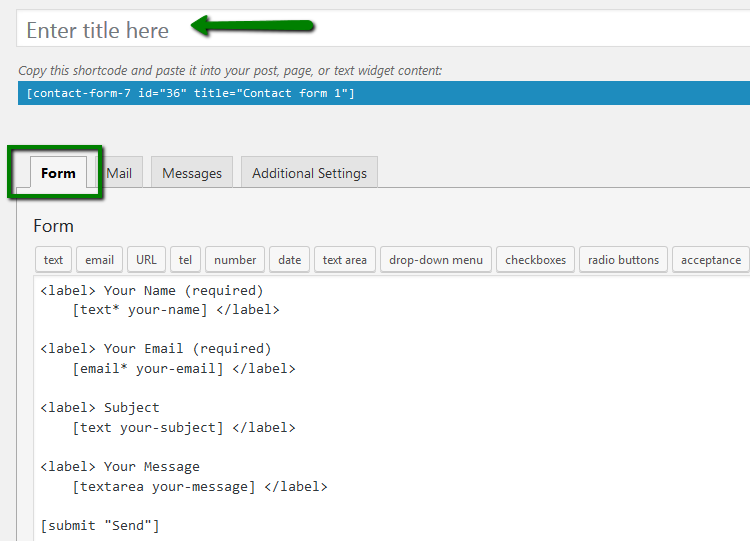
6. In the Form tab you can edit the fields of the contact form. Enter a title for your form in the Enter Title here field. This title is not visible to visitors, so feel free to use a title that describes your form. The other default fields are:
- Your Name (Required)
- Your Email (Required)
- Subject
- Your Message
- “Submit” button
You can delete or add new fields using tags from the top menu.
7. The Mail tab lets you configure email settings of the contact form:
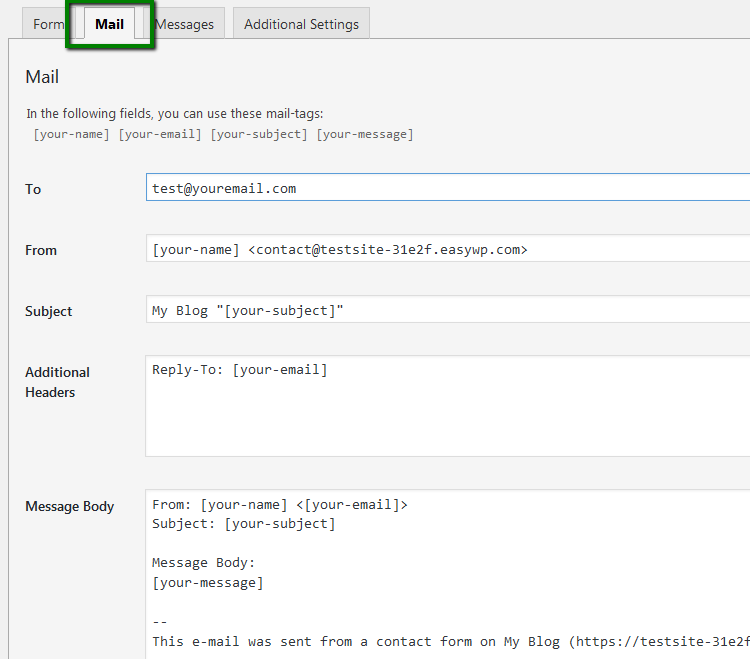
Let's review each filled area:
- To - all submitted forms will be sent to the email address you specified here.
- From - the server will be using this email address to send your contact form emails. The email address should belong to the website domain, e.g. contact@yourdomain.com.
PLEASE NOTE: If you want to use a third-party email address like @outlook.com, @yahoo.com or the mailbox associated with another domain name, you’ll also need to install and configure
one of the SMTP plugins.
While configuring the Contact Form with the third-party mailbox, you may receive an error message:
This is a default message of the Contact Form plugin that should be ignored in case of a successful SMTP plugin installation.
- Subject - in this field, you can specify the subject of the contact form email. If not filled out, the subject submitted by the visitor is used.
- Additional headers - here you can specify any additional email headers which will be added to the contact form email. For example, the Reply-To field added by default allows you to respond at the visitor's email address by pressing the Reply button.
- File attachments - you can enable attachments for your contact form so that the visitor can send you files in the submitted email.
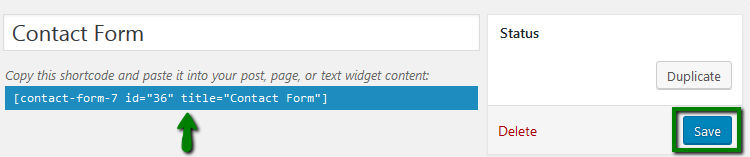
8. When all fields are filled out, click Save and copy the shortcode you see under the title:
9. Go to the page you want to insert the contact form and paste the shortcode there. Click on the Update button:

How to configure SMTP in WordPress
To configure and send all outgoing emails via the SMTP server you can use
Easy WP SMTP plugin.
To install the plugin, follow these steps:
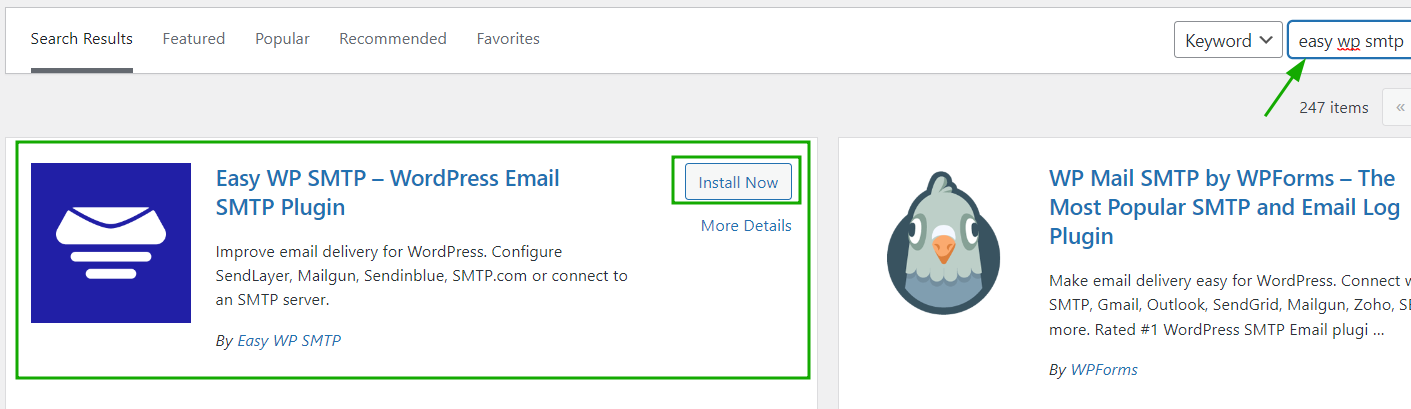
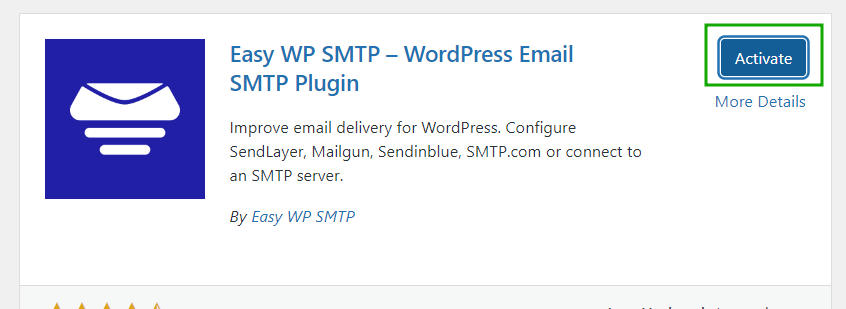
1. In the WordPress dashboard go to Plugins >> Add New >> search for Easy WP SMTP >> click on the Install Now button:
2. Once installed, click on the Activate button:
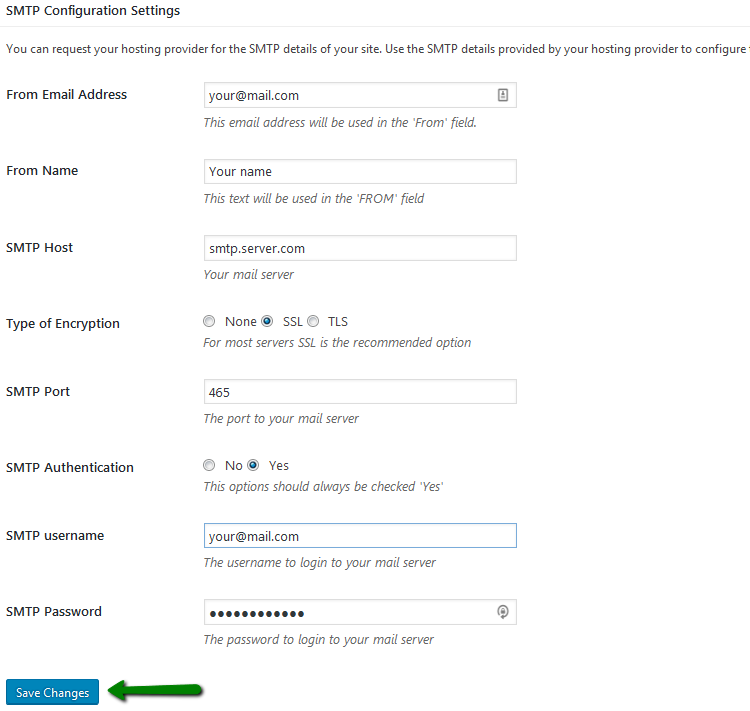
Then, fill in the required fields:
- From Email Address - set your email address that will be used to send all emails from your website.
- From Name - the text that will be used in the From field of the email.
- SMTP Host - outgoing mail server (e.g. smtp.live.com for Yahoo Mail or mail.privateemail.com for Private Email service).
- Type of Encryption - choose either TLS or SSL.
- SMTP Port - 587 if you set TLS encryption and 465 if you set SSL.
- SMTP Authentication - Yes.
- SMTP username - your full email address, the same you put in From Email Address field.
- SMTP Password - the password from the email address in the SMTP username field.
Click on the Save Changes button.
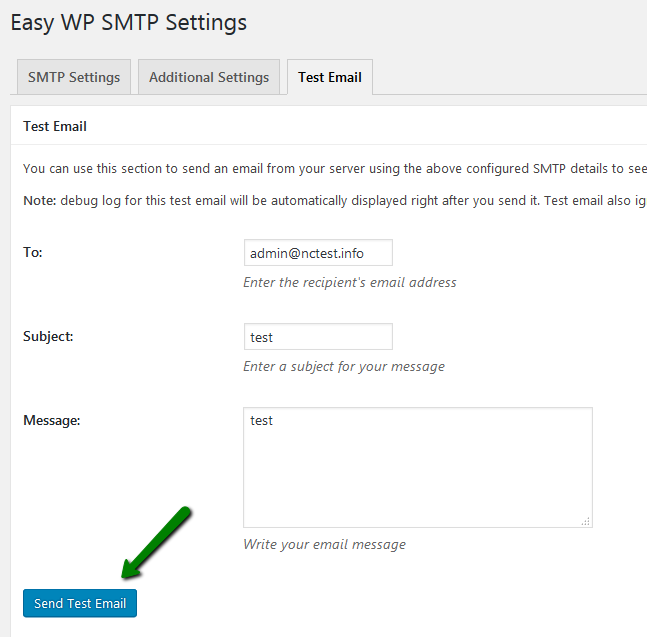
5. You can test your settings using the Test Email section in Settings >> Easy WP SMTP. Fill in the To, Subject, and Message fields and click on the Send Test Email button:
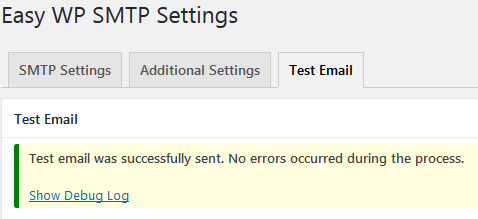
If your SMTP settings are correct you will receive the Test email was successfully sent message:
That's it!