It is possible that you have already built your website and need to change your hosting provider. The standard process involves backing up your files, downloading them to your computer and then uploading them again to the new hosting, extracting the archives, and getting everything re-organized.
It may be quite time-consuming, and if something goes wrong, you may even need to start again. That’s why we’ve created a much easier way to migrate your website to Website Builder.
Accessing the Import feature
In cPanel, go to the Exclusive for Namecheap customers section >> Website Builder menu:

In the next menu simply click on the domain or subdomain for your new website. Then, you will be redirected to select a template.
There are 2 ways to access the Import option:
1. You can choose the corresponding menu on the template page and specify the website you wish to import:

2. On the website editing page, navigate to the New/Reset option >> Import:

Then, specify the website URL and confirm your actions:
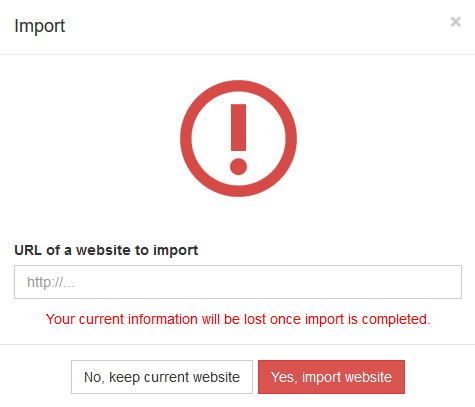
After this, you will be redirected to the next window to validate your website ownership
Proceeding with the validation
In order to use the Import functionality, it is essential to confirm website ownership to avoid the legal copyright issues and make sure your content is secure.
There are three methods you can use to import your website. Here you can find these validation methods and instructions for them in action:
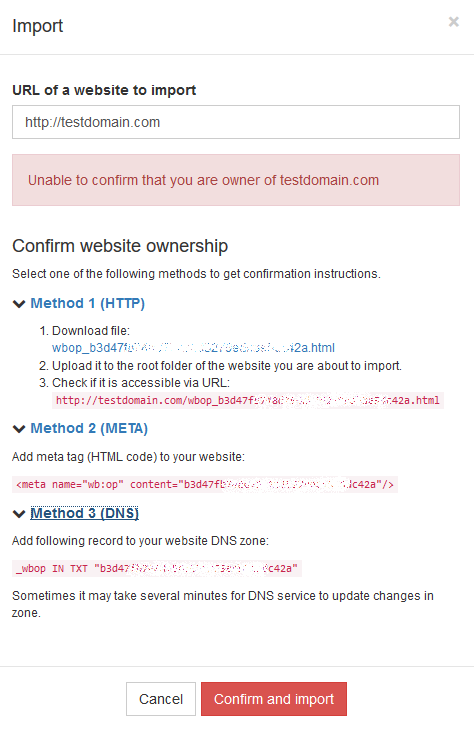
We recommend using the third one (if you can) as it is the easiest way and requires fewer modifications:
1. HTTP method.
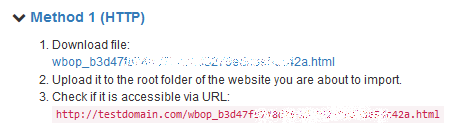
To proceed with this option you need to download the file (as per the screenshot) and upload it to your website’s root directory. Check how to do this with cPanel File Manager.
Make sure to check that the uploaded file is available in the browser before clicking Confirm and import.
2. META method.

When choosing this method, you need to add a meta tag (HTML code) to your website file. The way the meta tag should be added depends on the website structure. As soon as the code is added to the original website, press Confirm and import.
3. DNS method.
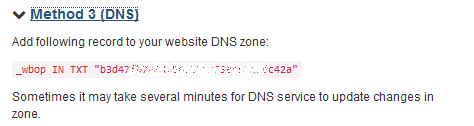
If you wish to try this variant, a TXT record for the specified subdomain and value (without "" symbols) should be added to the DNS zone of the domain name in question.
Once it is done, click on Confirm and import.
After the website ownership is confirmed, the website front end will be imported into the Website Builder where it can be modified further.
PLEASE NOTE: The Import feature is designed for the websites built in other drag-and-drop builders, as only the front end of a website (what you see visually on the site) can be imported. The import feature will not work for websites which require databases or any other backend features, as neither these, nor website dashboards can be uploaded to Website Builder.
Sometimes, imported websites need additional adaptation for different devices. To make such websites responsive after the import, follow the steps listed below:
- Go to "Page structure" on the right side of your Website Builder.
- Go through the whole structure and check all elements of horizontal and vertical layout type.
- In the right toolbar select "Size", check all elements:
- "Width" should preferably be "100%" or "auto";
- "Height" should be "auto";
- All "Min" and "Max" checkboxes in Size section should be off.
- Check elements on each page.
- Click on the "Preview" to check the result:

