Sometimes, when contacting our Customer Support Team, you may be asked to take a screenshot and share it to speed up the resolution process. For example, checking your Dynamic DNS router settings or Mail client settings.
In this article, we will describe the process of taking screenshots on different devices and operating systems (OS), such as:
Windows
In Windows, there are several ways to take a screenshot:
1. Using the Snippet Tool
One of the easiest ways to take a screenshot is to use a Snippet Tool, which is the default feature pre-installed in Windows. To locate this tool, please follow these steps:
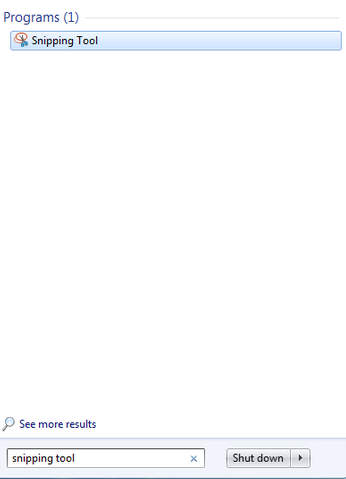
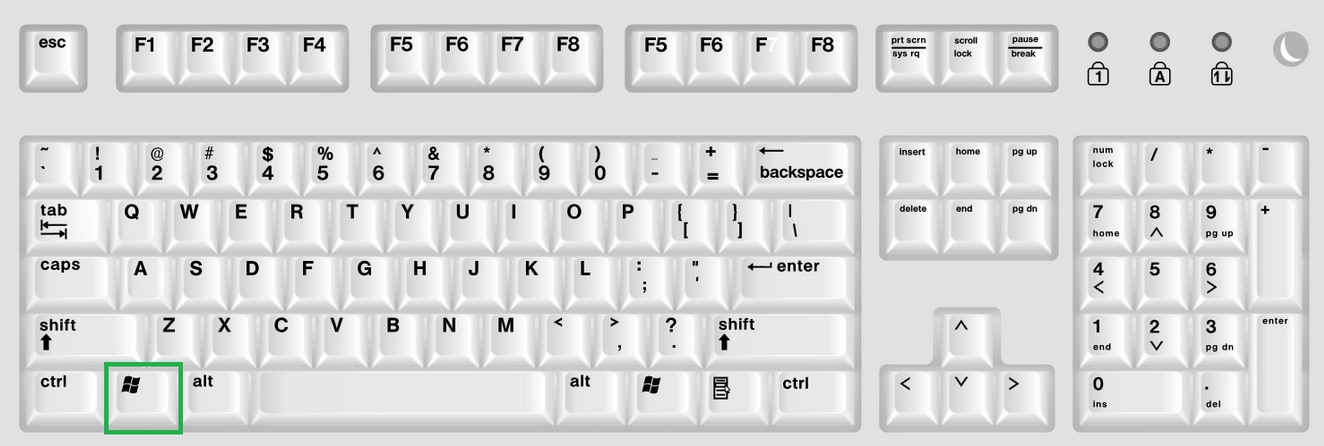
- Select the Start button (Win button) and enter Snippet Tool in the search bar:
- Select the Snippet Tool from the drop-down:
- Click on the Left Mouse button and choose the area you would like to capture.
- Save the image as a picture.
2. Using the Print Screen
In case the Snippet Tool does not work, the Print Screen option also works.
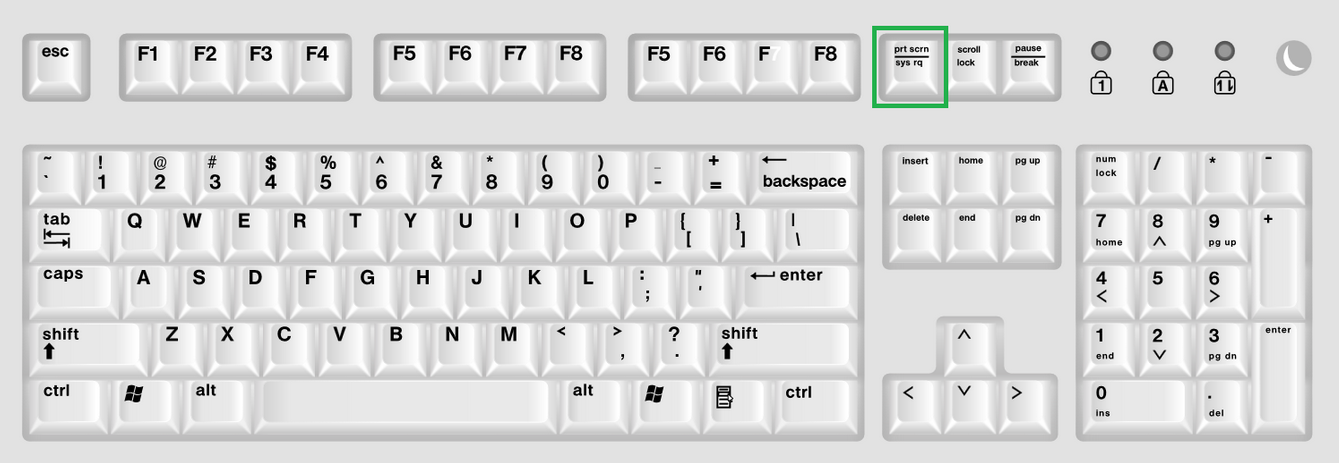
- Locate and click the PrtScr button (it is usually located on the right-hand side of a standard keyboard; just above the Insert, Home and Page Up keys). However, if you have a laptop, the PrtScr button can be hard to locate so look at the very top right of your keypad:
PLEASE NOTE: In case you are using a laptop, you need to hold the Fn (function) button before pressing PrtScr.
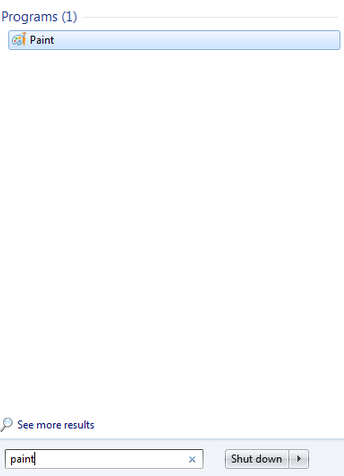
- Once clicked, the screenshot is copied to the clipboard. Now, click on the Win and enter Paint:
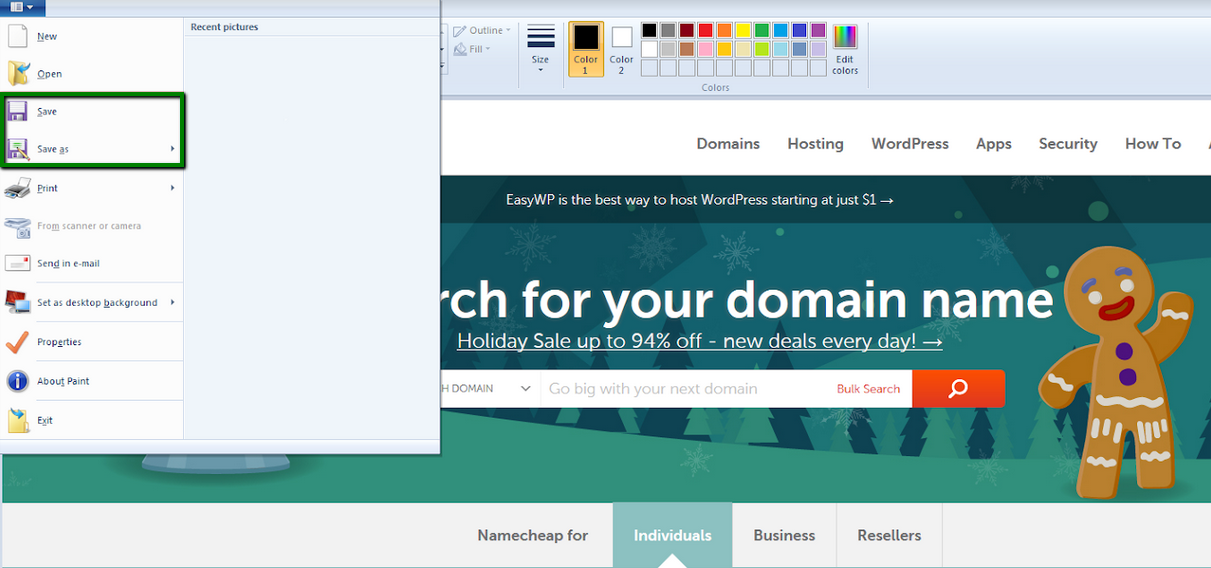
- Select Paint from the search results and paste the screenshot by typing in the keyboard combination Ctrl + V:
MacOS
If you are a MacOS user, the following screenshot options are available for you:
1. Capture the entire screen
- Type in the following keyboard combination: Shift + Command + 3. Once clicked, the screenshot will appear on your desktop:

2. Capture a part of the screen
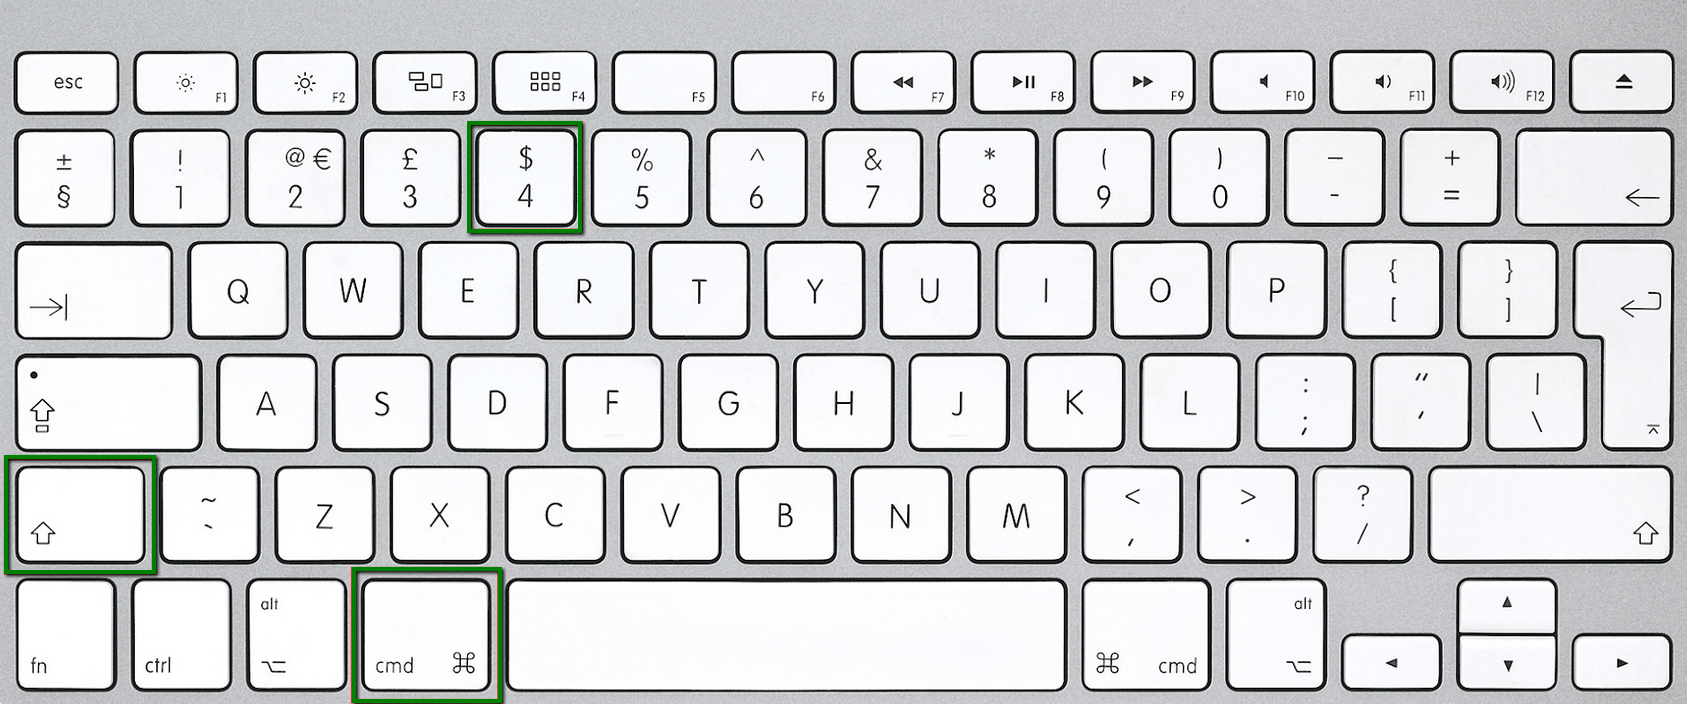
- Press Shift + Command + 4. This will turn your cursor into a crosshair:
- Move it to where you would like to start your screenshot.
- Drag the cursor to capture the required section of the screen.
- Once the needed area is selected, release the trackpad or mouse. The screenshot will be saved on your desktop.
3. Take a screenshot of a specific window
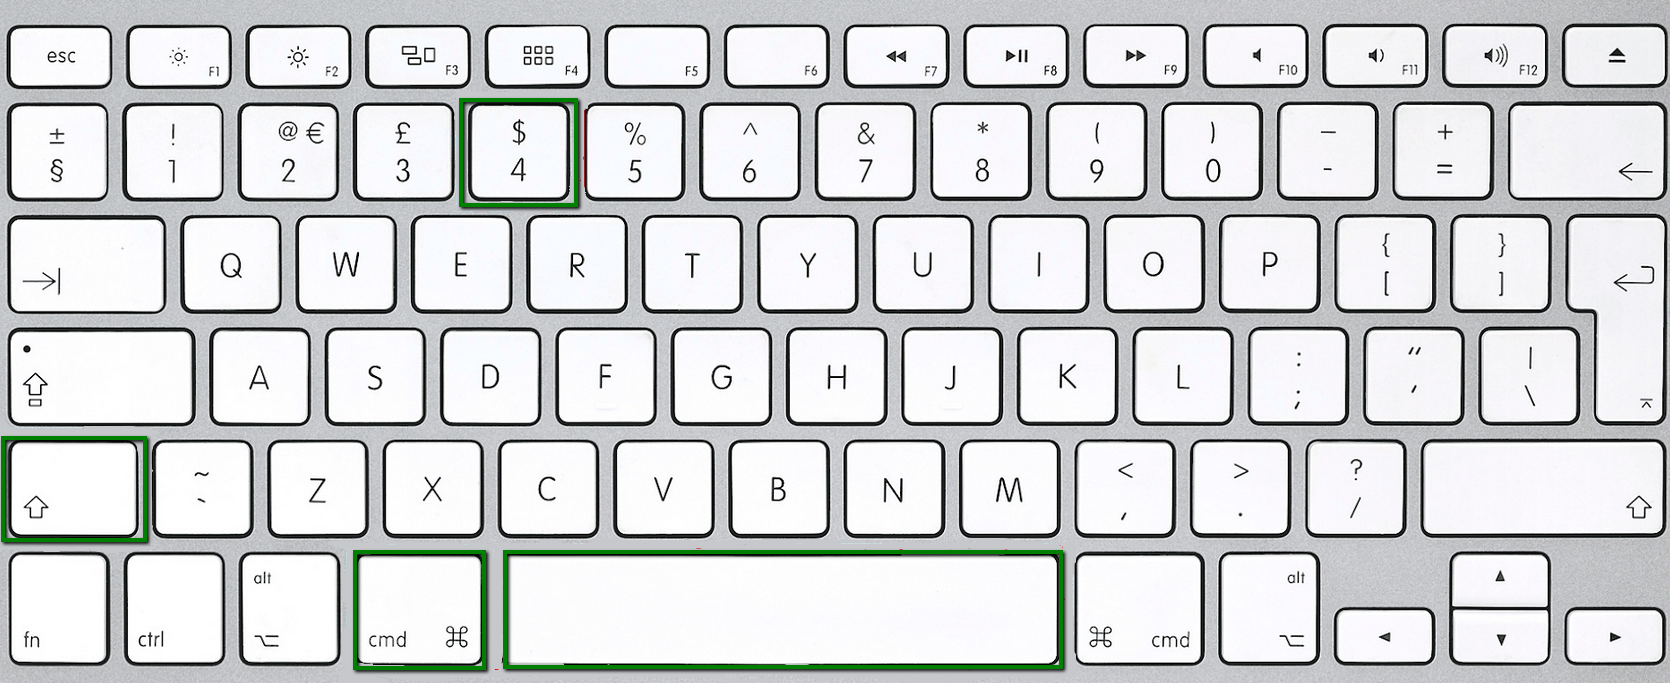
- Press Shift + Command + 4. Then press the Spacebar. This will change the crosshair into the camera:
- Move the camera over the window you would like to capture. Please make sure that the window is highlighted.
- Click on your mouse or trackpad to take a screenshot.
- After that, the image will appear on your desktop.
Android
If you are using a mobile device and you need to capture your screen to share it, please use one of the following combinations:
- For the Android phones that do not have a physical Home button, please hold for 1-2 seconds the following buttons: [ Volume down + Power ].
The screen should flash or somehow indicate the succession of the action. Your device will capture the whole screen and save it as a photo.
- For devices that have a physical Home button, the following combination should be used: [Home + Power].
Once the screenshot is made, you can find the image in your Gallery or Photos app.
- If none of the variants are applicable for you, you can download and install the specific app for taking screenshots. Most of them are free and include all the necessary features to create and share screenshots.
iOS
1. Taking screenshots on iPhones X, XS or XR
If you have iPhone X, XS or XR, please do the following to take the screenshot:
- Hold down the Sleep/Wake button.
- After that, press the Volume Up button.
The screen of your device will flash and the captured image will be saved as a photo on your device.
2. Taking screenshots on iPhones SE, iPhone 1-8, iPad and iPad Touch
For iPhones SE, iPhone 1-8, iPad and iPad Touch, the process is slightly different and you need to follow these steps to capture the screen:
- Hold down the Sleep/Wake button.
- After that press the Home button.
How to find the Sleep/Wake button:
It is that isolated button, which is either at the top (e.g., iPhone iPhone 5, 5s, SE) or on the right side (e.g., iPhone 7, 8, X).
How to share the screenshot
Once the screenshot is made, you must share it with one of our Customer Support representatives so they can check it. Here are some alternatives on how to share it:
- Share the screenshot directly via a chat window
One of the easiest ways to share the screenshot is to upload it to a chat conversation using the Clip icon or drag and drop the file.
- Use Screencast, or any similar online tool
Nowadays there are plenty of cloud storage services that allow you to take a screenshot and share it with others. If you would like to share the screenshot in this way, we advise using Screencast or similar tools.
PLEASE NOTE: In case you decide to use Screencast, you will need an active account with them. They provide an opportunity to sign up using your Google account.
If you want to know how to share screenshots via Screencast, please follow these steps:
- Enter https://www.screencast.com/ into your web browser and log into/create your Screencast account.
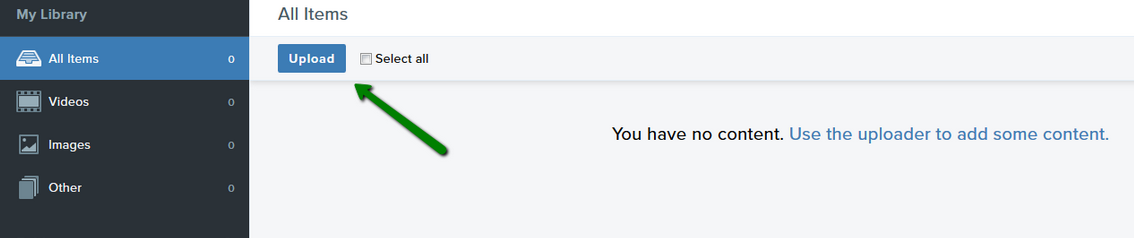
- Once logged in, find and click the Upload button:
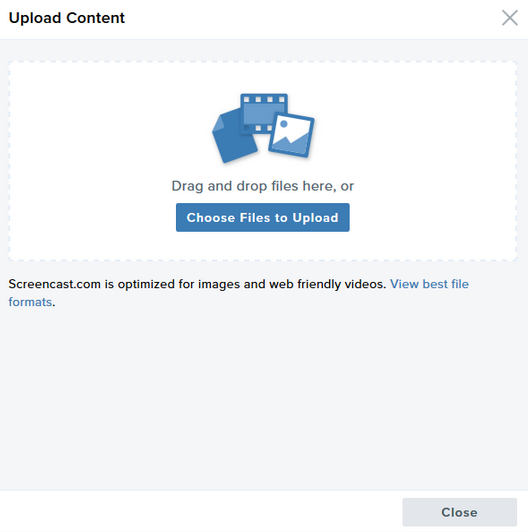
- Drag and drop the necessary image into the pop-up window or choose the path to the image by clicking on the Choose file to upload button:
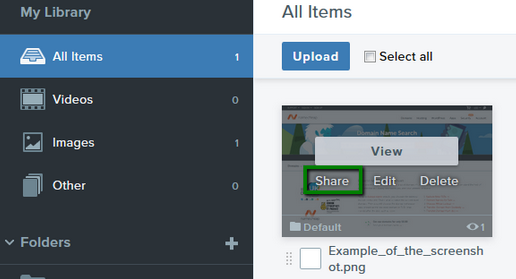
- Once the image is uploaded, you will find it on your Dashboard. Alternatively, you may check the uploaded images by choosing Image from the left-side menu:

- Mouse over the desired image and hit the Share button:
- In the pop-up window, click on the Copy button next to the Share URL option:
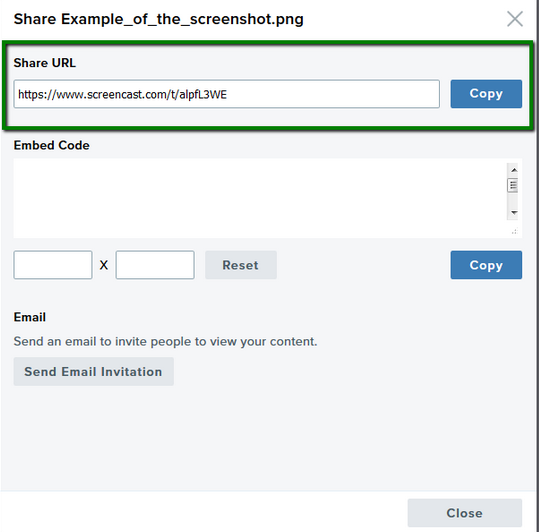
This URL can be later pasted into the chat window, so our Customer Support Team members can check your screenshot.
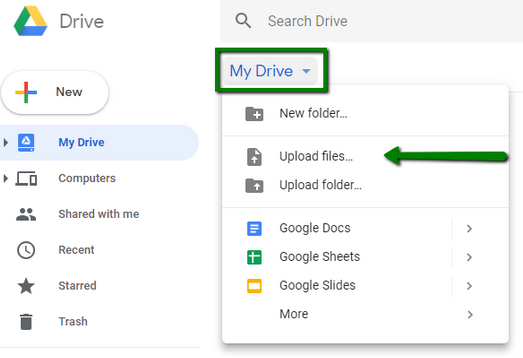
Google Drive is a file storage service that allows to download/upload files to the server, share it with others and supports a range of collaborative tools.
It is one of the instruments you can use to share screenshots with our Customer Support Team. If you would like to use Google Drive for sharing screenshots, please follow these simple steps:
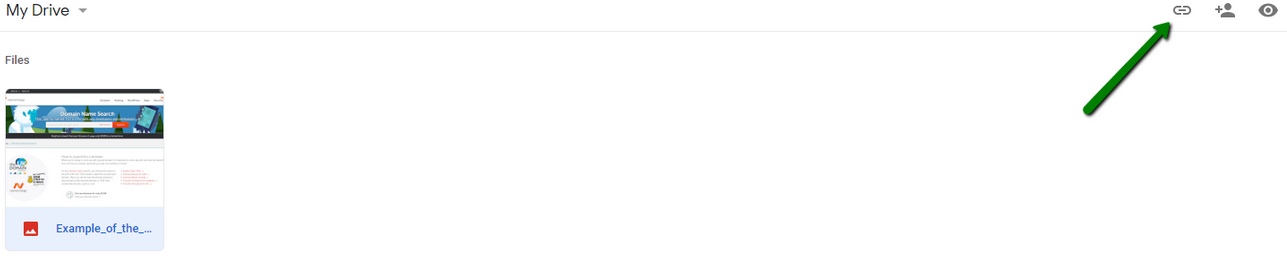
- Find the image and click on it with your left mouse button.
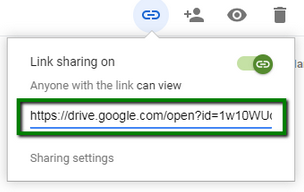
- At the top right, click on Get shareable link:
- Once the link appears, copy and paste it into the chat window:
Limitations:
Size: for emails max. 75 MB, for chats - 5 MB.
Number of files attached: for emails - 20 files per 1 email, 5 per chat.
Supported extensions for chats and emails: .ca-bundle, .cer, .crt, .csv, .doc, .docx, .eml, .jpeg, .jpg, .key, .mov, mp4, .p12, .p7b, .p7c, .p7s, .pdf, .pem, .pfx, .png, .txt, .wav, .xls, .xlsx, .zip.
That’s it!