Thank you for choosing Namecheap! This article walks you through creating a Namecheap account so you can start managing your services.
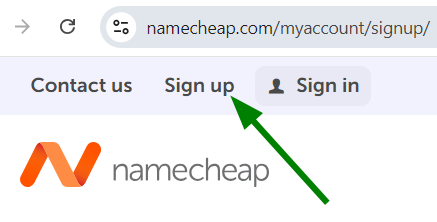
To get started, navigate to the sign up page. You can also click "Sign up" near the top-left of the Namecheap website. This takes you straight to the account creation page.
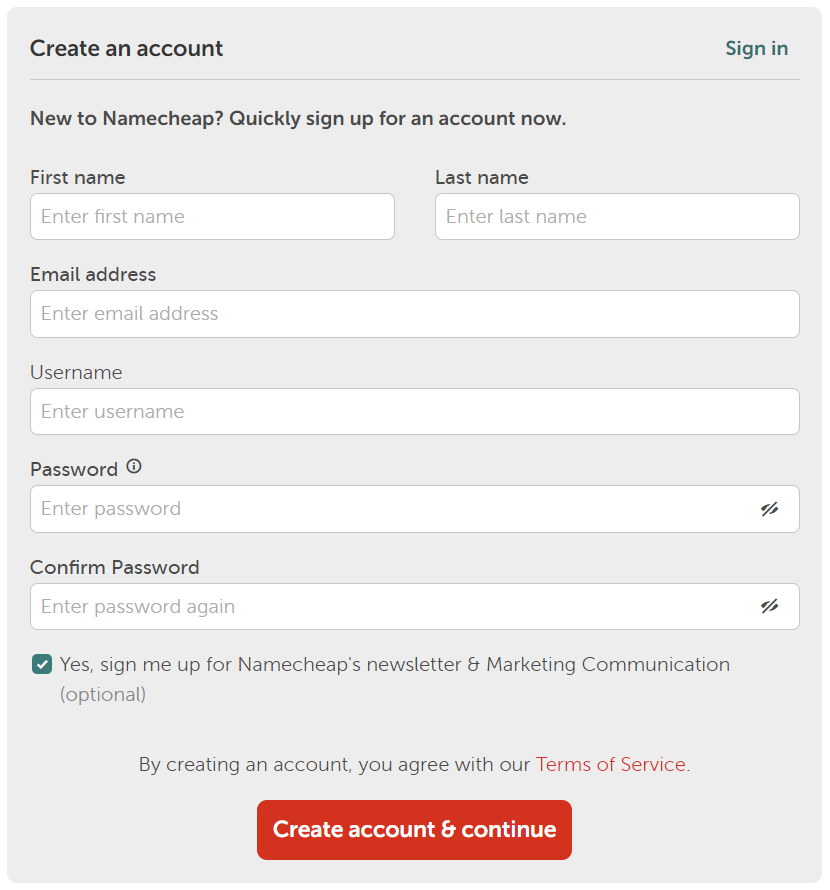
Fill out the form carefully - you'll need this information to log in later. The fields appear in this order:
First and Last Name – Used for official correspondence with Namecheap. Your first name will appear in automated notifications and newsletters (if you opt in). These details are pre-filled in your account Profile and can be
edited later.
Email address – This becomes your account's Primary email, used for password resets, order summaries, and other correspondence. Don't reuse the same email across multiple Namecheap accounts, as this can cause access issues. Note that if you set a domain-based email address (e.g., you@yourdomain.tld) as your Primary email, it can stop working if that domain expires or has email service issues.
Username – This is used to log in, to verify your identity with Support, and to tie services to your account. It must be one word, using only Latin letters and numbers - no hyphens, spaces, or special characters. You cannot change your username later, so choose carefully.
Password – Must be at least 8 characters. For better security, Namecheap recommends including both uppercase and lowercase letters, a special character, and a number. Avoid putting code-like text in angle brackets (< >) in your password, as this can cause account access problems.
Confirm Password – Re-enter the same password to confirm it.
Newsletter checkbox – The "Yes, sign me up for Namecheap's newsletter & Marketing Communication" checkbox is checked by default. If you do not wish to receive marketing emails, simply clear the checkbox. This will not affect your ability to create the account. You can also
update your newsletter preferences later in your account settings.
By creating an account, you agree to
Namecheap's Terms of Service. It's worth reviewing the sections on cancellations, privacy, and refunds before purchasing any services.
Once everything looks correct, click "Create account & continue." You'll be taken straight to your account Dashboard, and a welcome email will be sent to the address you signed up with.
TIPS:
- You can also sign up through the Namecheap mobile app: tap "Login" >> "New Account," fill in the details, then tap "Create Account."
- Most account details can be changed later, except your username. See How do I update the personal details on my profile? for details.
- If you need a different username, you can create a new account and move most services over to it.
Should you have any additional questions or need any assistance, please do not hesitate to contact our
24/7 Support.