This article is valid for both new plans (purchased on or after June 2, 2026) and legacy Private Email plans (purchased before June 2, 2026).
This guideline provides instructions on how to set up your Namecheap Private Email mailbox mailbox in Vivaldi Mail – an email client built-in Vivaldi Browser which is available for Windows, Mac, Linux, Android, and iOS.
NOTE: Before setting up a mailbox in the email client, please double-check that your domain name has the correct Private Email DNS records and that the mailbox has been created.
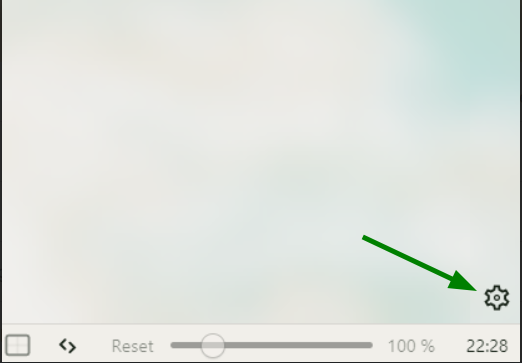
- In your Vivaldi browser, go to Settings (gear icon in the bottom right corner):
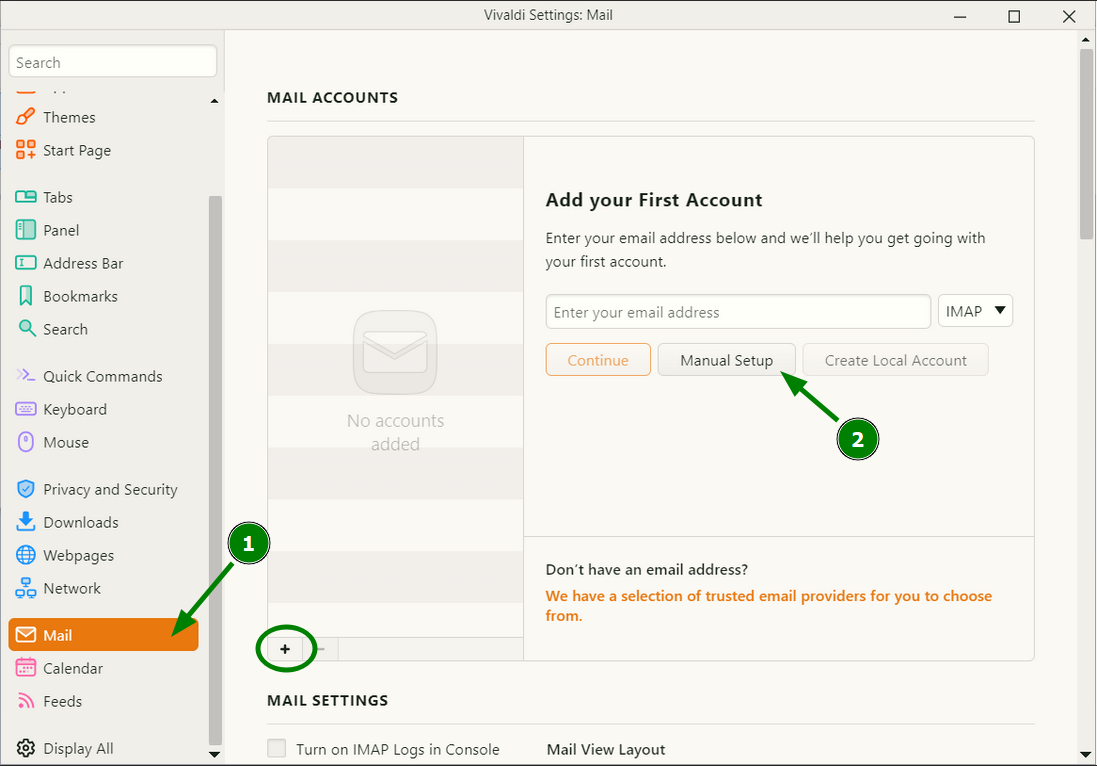
In a new window select the Mail section. If you had mail accounts added before, you will need to click on the plus (+) first. If not, just click on the Manual Setup button:
- Now, fill in the settings for your email account as shown below:
Email address: your Private Email address (we use test@nctest.us in this tutorial)
For IMAP:
Incoming server: mail.privateemail.com (please note that it should not be changed)
Port for incoming server: 993
Connection Security: SSL/TLS
Outgoing server: mail.privateemail.com (please note that it should not be changed)
Port for outgoing server: 465
Connection Security: SSL/TLS
For both incoming and outgoing settings:
Username: your full email address (we use test@nctest.us in this tutorial)
Password: password for this mail account
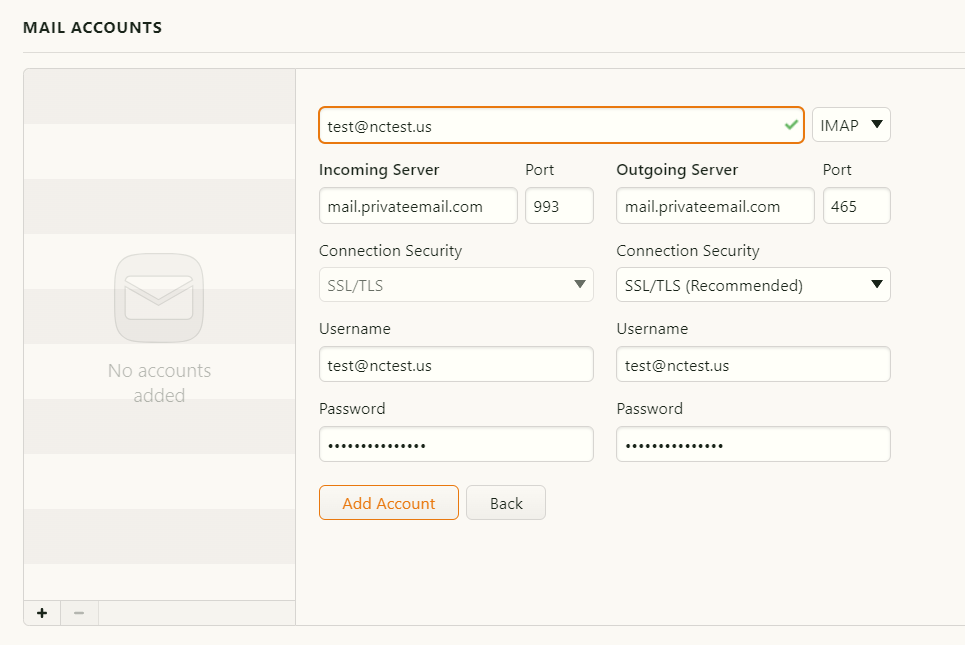
Verify that you imputed the correct details and click Add Account.
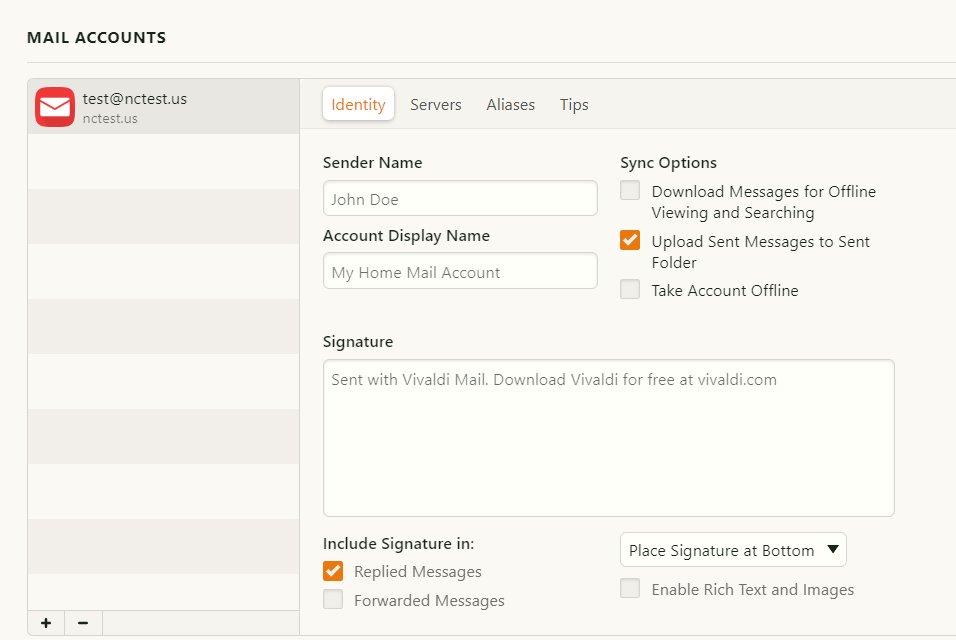
- Wait a moment, and your account will be added - it will appear in the list of accounts to the left. Here you can also fill in some settings for this account:
Sender name - the one that will be shown to your customers;
Account display name - how you name this account in your email client;
Signature - customize your emails with a unique signature.
- To check your email account you just need to click on the Mail icon in the browser sidebar and click on your Inbox:
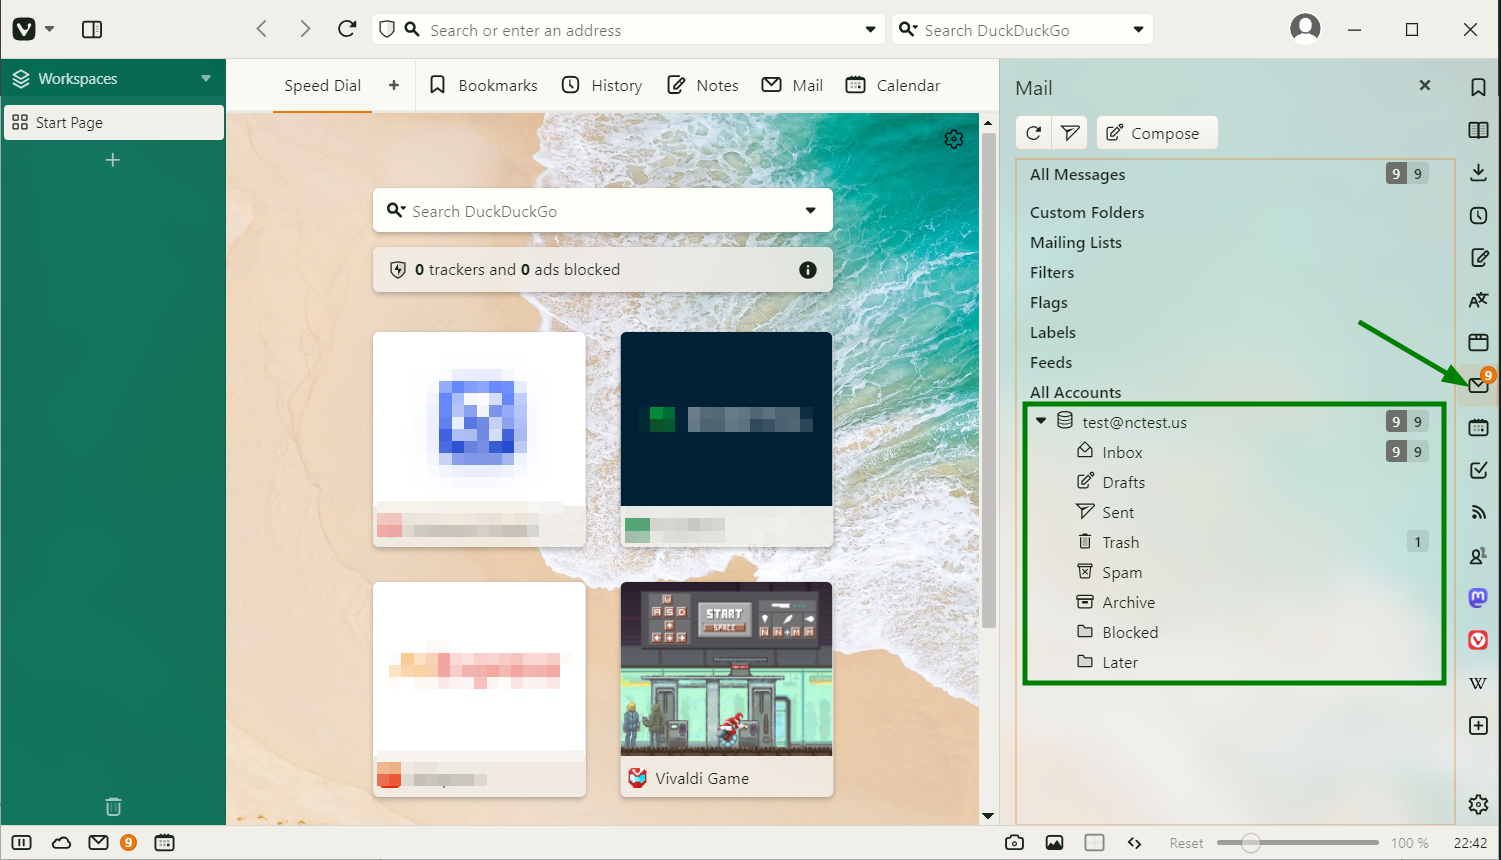
Your mailbox is ready.
That’s it!