If you wish to access a hosting account via SSH, first of all, follow the steps specified in
this guide in order to enable SSH access for your account.
To access your hosting account via SSH on
Windows, you should:
1. Make sure that SSH access is enabled for your account.
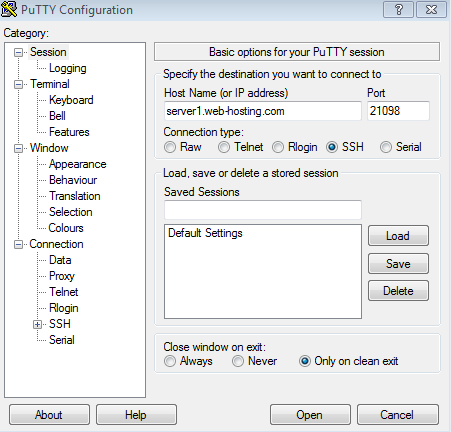
2. Open your SSH client, put your domain name or the IP address of the server into the Host Name field (you can also use server name here, you can check it using this tutorial), enter 21098 into the Port field, choose SSH as your connection type and press the Open button.
Note for VPS/Dedicated server owners: Use the 22 port if you have a User-Responsible type of server management, and 21098 - if you have Basic or Complete management (more info about server management types can be found in the following guides: for VPS, for Dedicated servers).
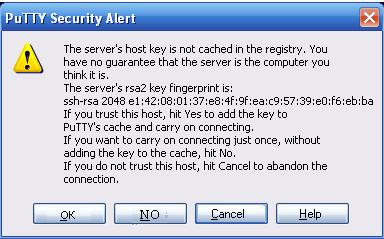
3. You will receive the Putty Security Alert. Press OK:
4. When prompted, enter your cPanel username and password (when you enter the password, it is automatically hidden for security purposes):

You can find cPanel login details in the Hosting Welcome email sent right after the package activation. If you face difficulties finding the Welcome email, reach out to our Support Team for assistance.
If you use
macOS, you don’t need to install a third-party client like PuTTY to connect to your hosting account via Secure Shell (SSH). Instead, you can use Terminal - a command line emulation program.
Instructions for Linux are similar.
Before you start, make sure SSH access is enabled for your hosting account.
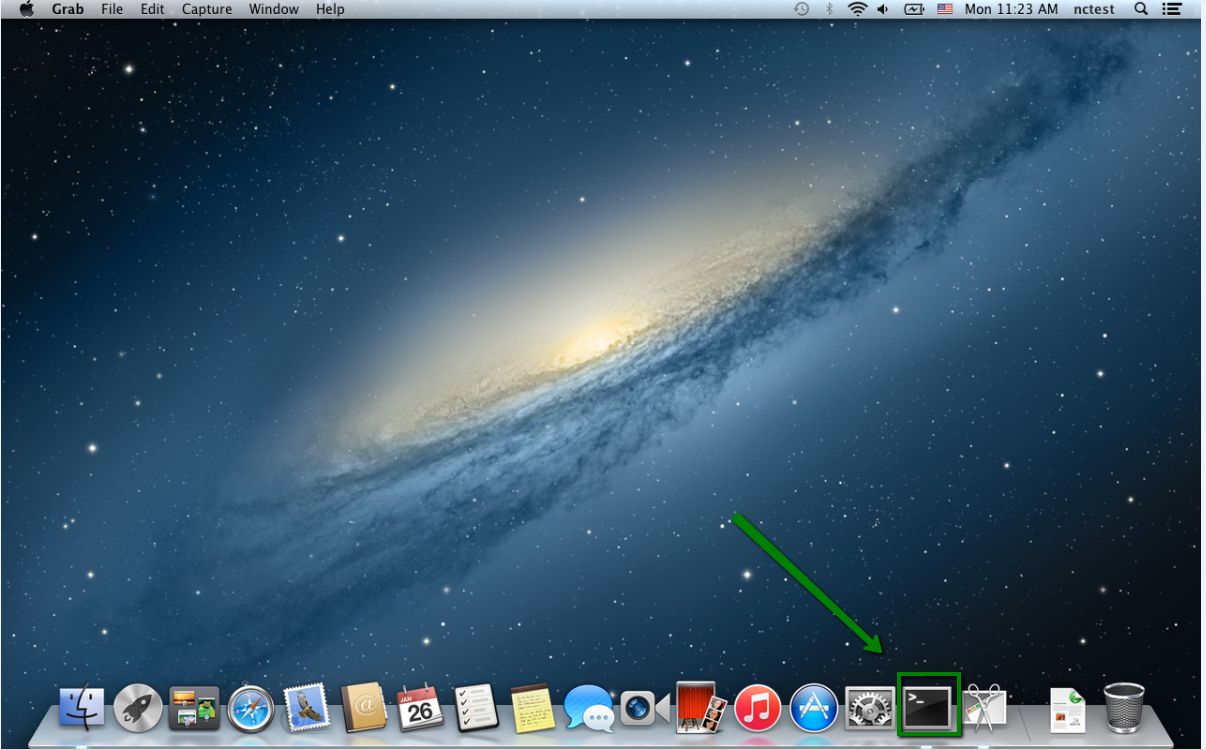
1. Open your Terminal application:
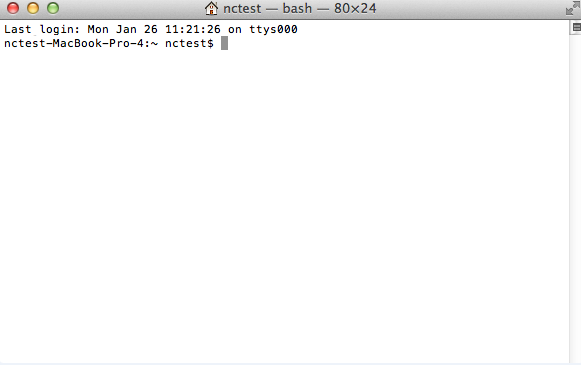
You will see a window with a user$ sign and a blinking cursor. This is your basic command prompt.
From in here, you can establish an SSH
connection to your hosting server:
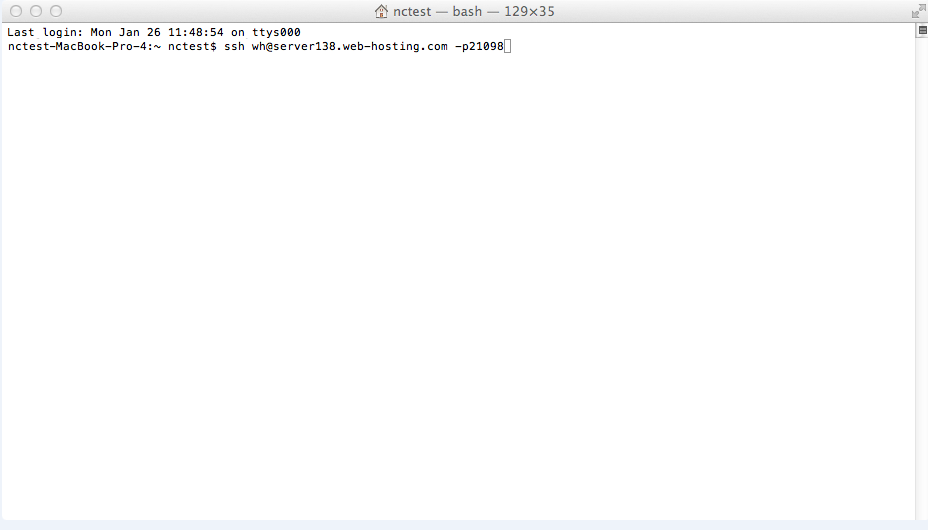
To connect, you need to execute the following command:
ssh USER@SERVER -pPORT
USER: user you want to establish the SSH connection for. It can be either root (only for VPS and Dedicated servers) or cPanel username
SERVER: hostname/IP of the server you are connecting to
PORT: connection port - 21098 for a Shared server and Basic or Complete VPS/Dedicated server, 22 - for a User-Responsible VPS/Dedicated server:
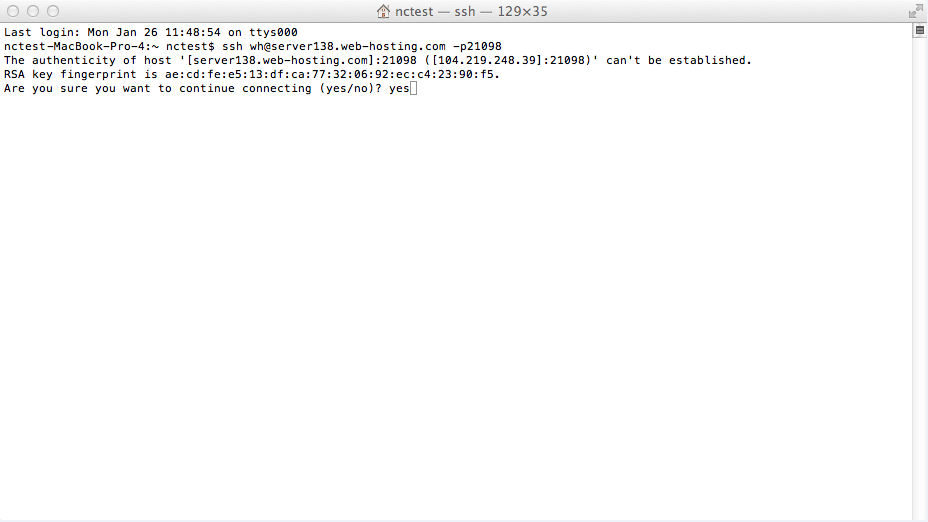
2. Now the computer will attempt to connect to your hosting server.
If it is your first time connecting to the server, you will see a message asking you to confirm the connection establishment. Type yes and press the Enter key to proceed:
NOTE: If you use
OpenSSH version 8.8 or later and get the error "No matching host key type found. Their offer: ssh-rsa,ssh-dss" during the SSH connection on your computer, add these lines into the ~/.ssh/config file:
HostKeyAlgorithms +ssh-rsa
PubkeyAcceptedAlgorithms +ssh-rsa
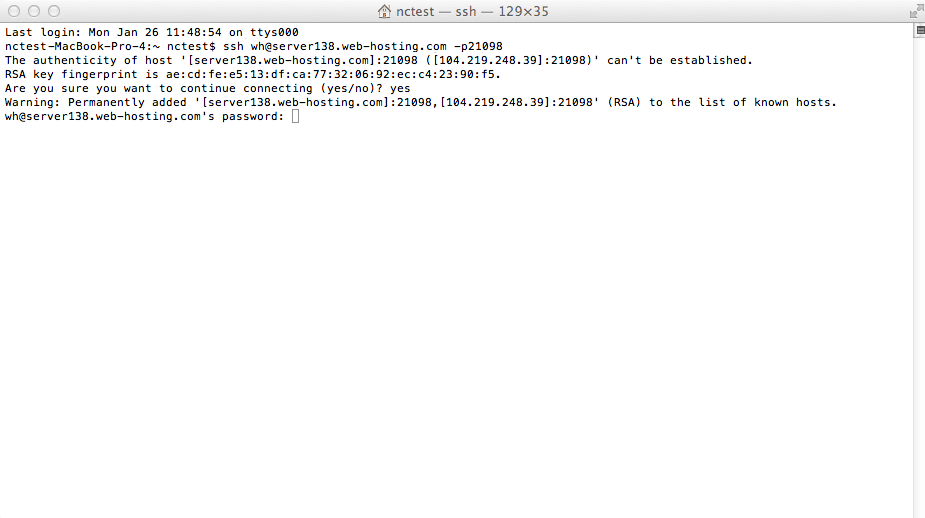
3. You will be asked to input the SSH password (for root or cPanel account). Your cPanel login details (or root password) can be found in the Hosting Welcome email sent to you after the package activation. If you have difficulties finding the Welcome email, contact our
Support Team for assistance.
Type in the password and press Enter.
NOTE: The cursor will not be moving when you will be entering your password:
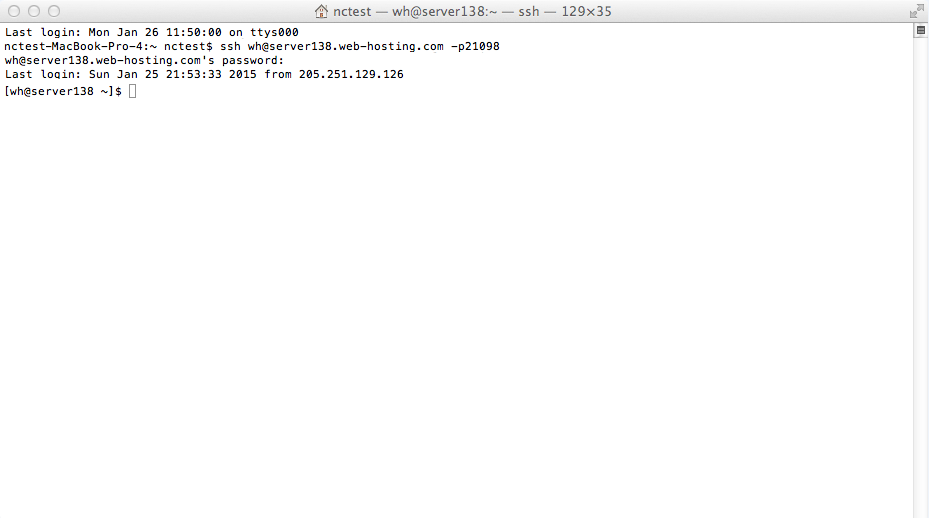
4. If all is good, you will see a line beginning with [user@server ~]$. This will indicate that the SSH connection has been successfully established:
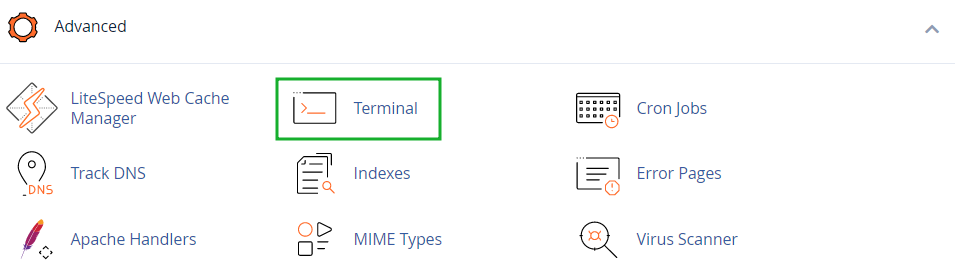
The
Terminal interface allows you to access an in-browser SSH application for direct command-line access within a cPanel session. In order to access cPanel
Terminal, follow the next steps:
2. Navigate to cPanel >> the Advanced section >> the Terminal menu:
3. If you are opening this menu for the first time, the warning notice will be shown. Click on I understand and want to proceed.
This message won't appear in future sessions.
4. Now you can run SSH commands using this interface:

That's it!
Need any help? Contact our HelpDesk
