How to connect a domain to SendGrid

SendGrid is a cloud-based SMTP provider that allows sending email without having to maintain email servers.

This article will show you how to point your Namecheap domain name to SendGrid.

Domain authentication shows email providers that SendGrid has your permission to send emails on your behalf. To give SendGrid permission, you need to make the required DNS records.

1. First, go to your SendGrid account, select Settings >> Sender Authentication. There you will be able to find the CNAME records that should be set.

It is possible to set up necessary records using this option in your Namecheap account, and it is only for domains pointed to our BasicDNS or PremiumDNS.

2. Next, sign in to your Namecheap account.

3. Select Domain List from the left sidebar and click on the Manage button next to your domain name:


4. Click on the Advanced DNS tab and find the Host records section. Then click on the Add New Record button:


If you cannot edit your host records, please read our article on modifying Email, Domain Redirect and Host Record options.  
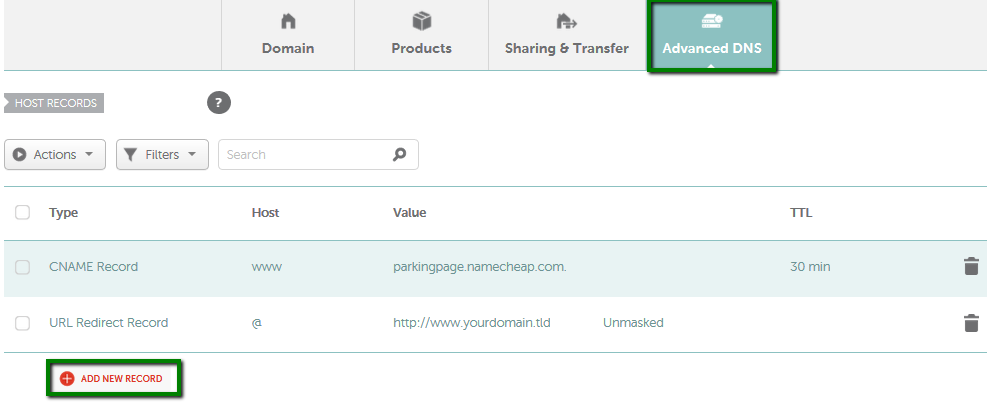
5. You should put only the hostname into the Host field without adding the domain name in full.

For example, if you see em123.yourdomain.com in your SendGrid account, you should only enter em123 into the Host field in your Namecheap account*.


              *These values are just examples. The correct records will be provided in your SendGrid account.

6. Click on the Save All Changes button once done. It usually takes 30 minutes for newly created records to take effect.

7. After adding CNAME records, return to the Sender authentication page and click Verify.

NOTE: If you click Verify, and only half of your CNAME records verify, this usually means that you need to wait a bit longer.
Updated
Viewed
13948 times

Need help? We're always here for you.

notmyip