Installing WordPress Manually
It’s possible to install WordPress manually. Even though this method includes a few more steps to build a website, some users prefer it. By manually installing WordPress you have the choice to create a website or use the software to handle your development in a safe place since it’s installed locally. To install WordPress manually, you need to download and upload the WordPress files, create a database and install WordPress. Let’s get started:
1. Download WordPress
Visit the WordPress website at WordPress.org and download the latest version. Save the zip file to a memorable location; such as your desktop as it will be no trouble to find there. Once WordPress has downloaded the zip file on to your computer, it's time to upload the files to your hosting account.
2. Upload WordPress to your hosting account
There are two ways to upload the files for WordPress hosting; You can use an FTP client like Filezilla, alternatively, use the File Manager in the cPanel of your hosting account. They both work the same way to upload your .ZIP file and there is little difference between them. One is a web application (cPanel), and one is a desktop application (FileZilla). CPanel doesn't require installation software to use it (it’s browser-based).There is a case for using FileZilla; it provides a solid environment for developers and facilitates local backups of your site.
-
Using FTP
This method uses your hosting account’s file transfer protocol (FTP) account information to upload files from your computer to your website. This overall process for setting up WordPress is a bit more time-consuming than with cPanel's File Manager. For programming development, FTP is a useful tool if you want to get stuck into developing a website if you're willing to put in a bit of extra work.
To create a copy of your site, you’ll need an FTP such as FileZilla. This example uses FileZilla, but you can use any other FTP program to upload the files. Follow these steps to install WordPress with FTP:
-
Upload WordPress and install
Once the desired programs are set up, you're ready to install. It’s now time to fire up your hosting account and get started, and you should do it in a way that works for you. There are two ways to install WordPress on your hosting server, manually or with the easiest way using platforms like Softaculous. Manual installation takes a little longer and is a bit more technical, so If you’ve got a host with a quick install option, we recommend taking advantage of it. Installing to a computer involves a different process which we’ll also cover. Scroll through the following sections to view instructions for specific software.
-
Using cPanel
The alternative method is to upload files straight into CPanel, the web-based hosting control panel provided by many hosting providers to website owners. It allows you to manage your website(s) from a web-based interface which includes an auto installer or package dedicated to content management systems like WordPress. This method is more streamlined than using an FTP since it's accessible from virtually any browser and requires no software downloads.
Skip this section if you have a host offering 1-click WordPress installation. If your web host does not have cPanel or for any other reason, you’ll need to install WordPress manually without an automated script installer such as Softaculous.
To continue, you need to make sure your site is connected to WordPress via your host. In your host account, locate Site Builder Options and select Use WordPress to connect your new domain to your WordPress website. Now follow these steps to manually install WordPress:

-
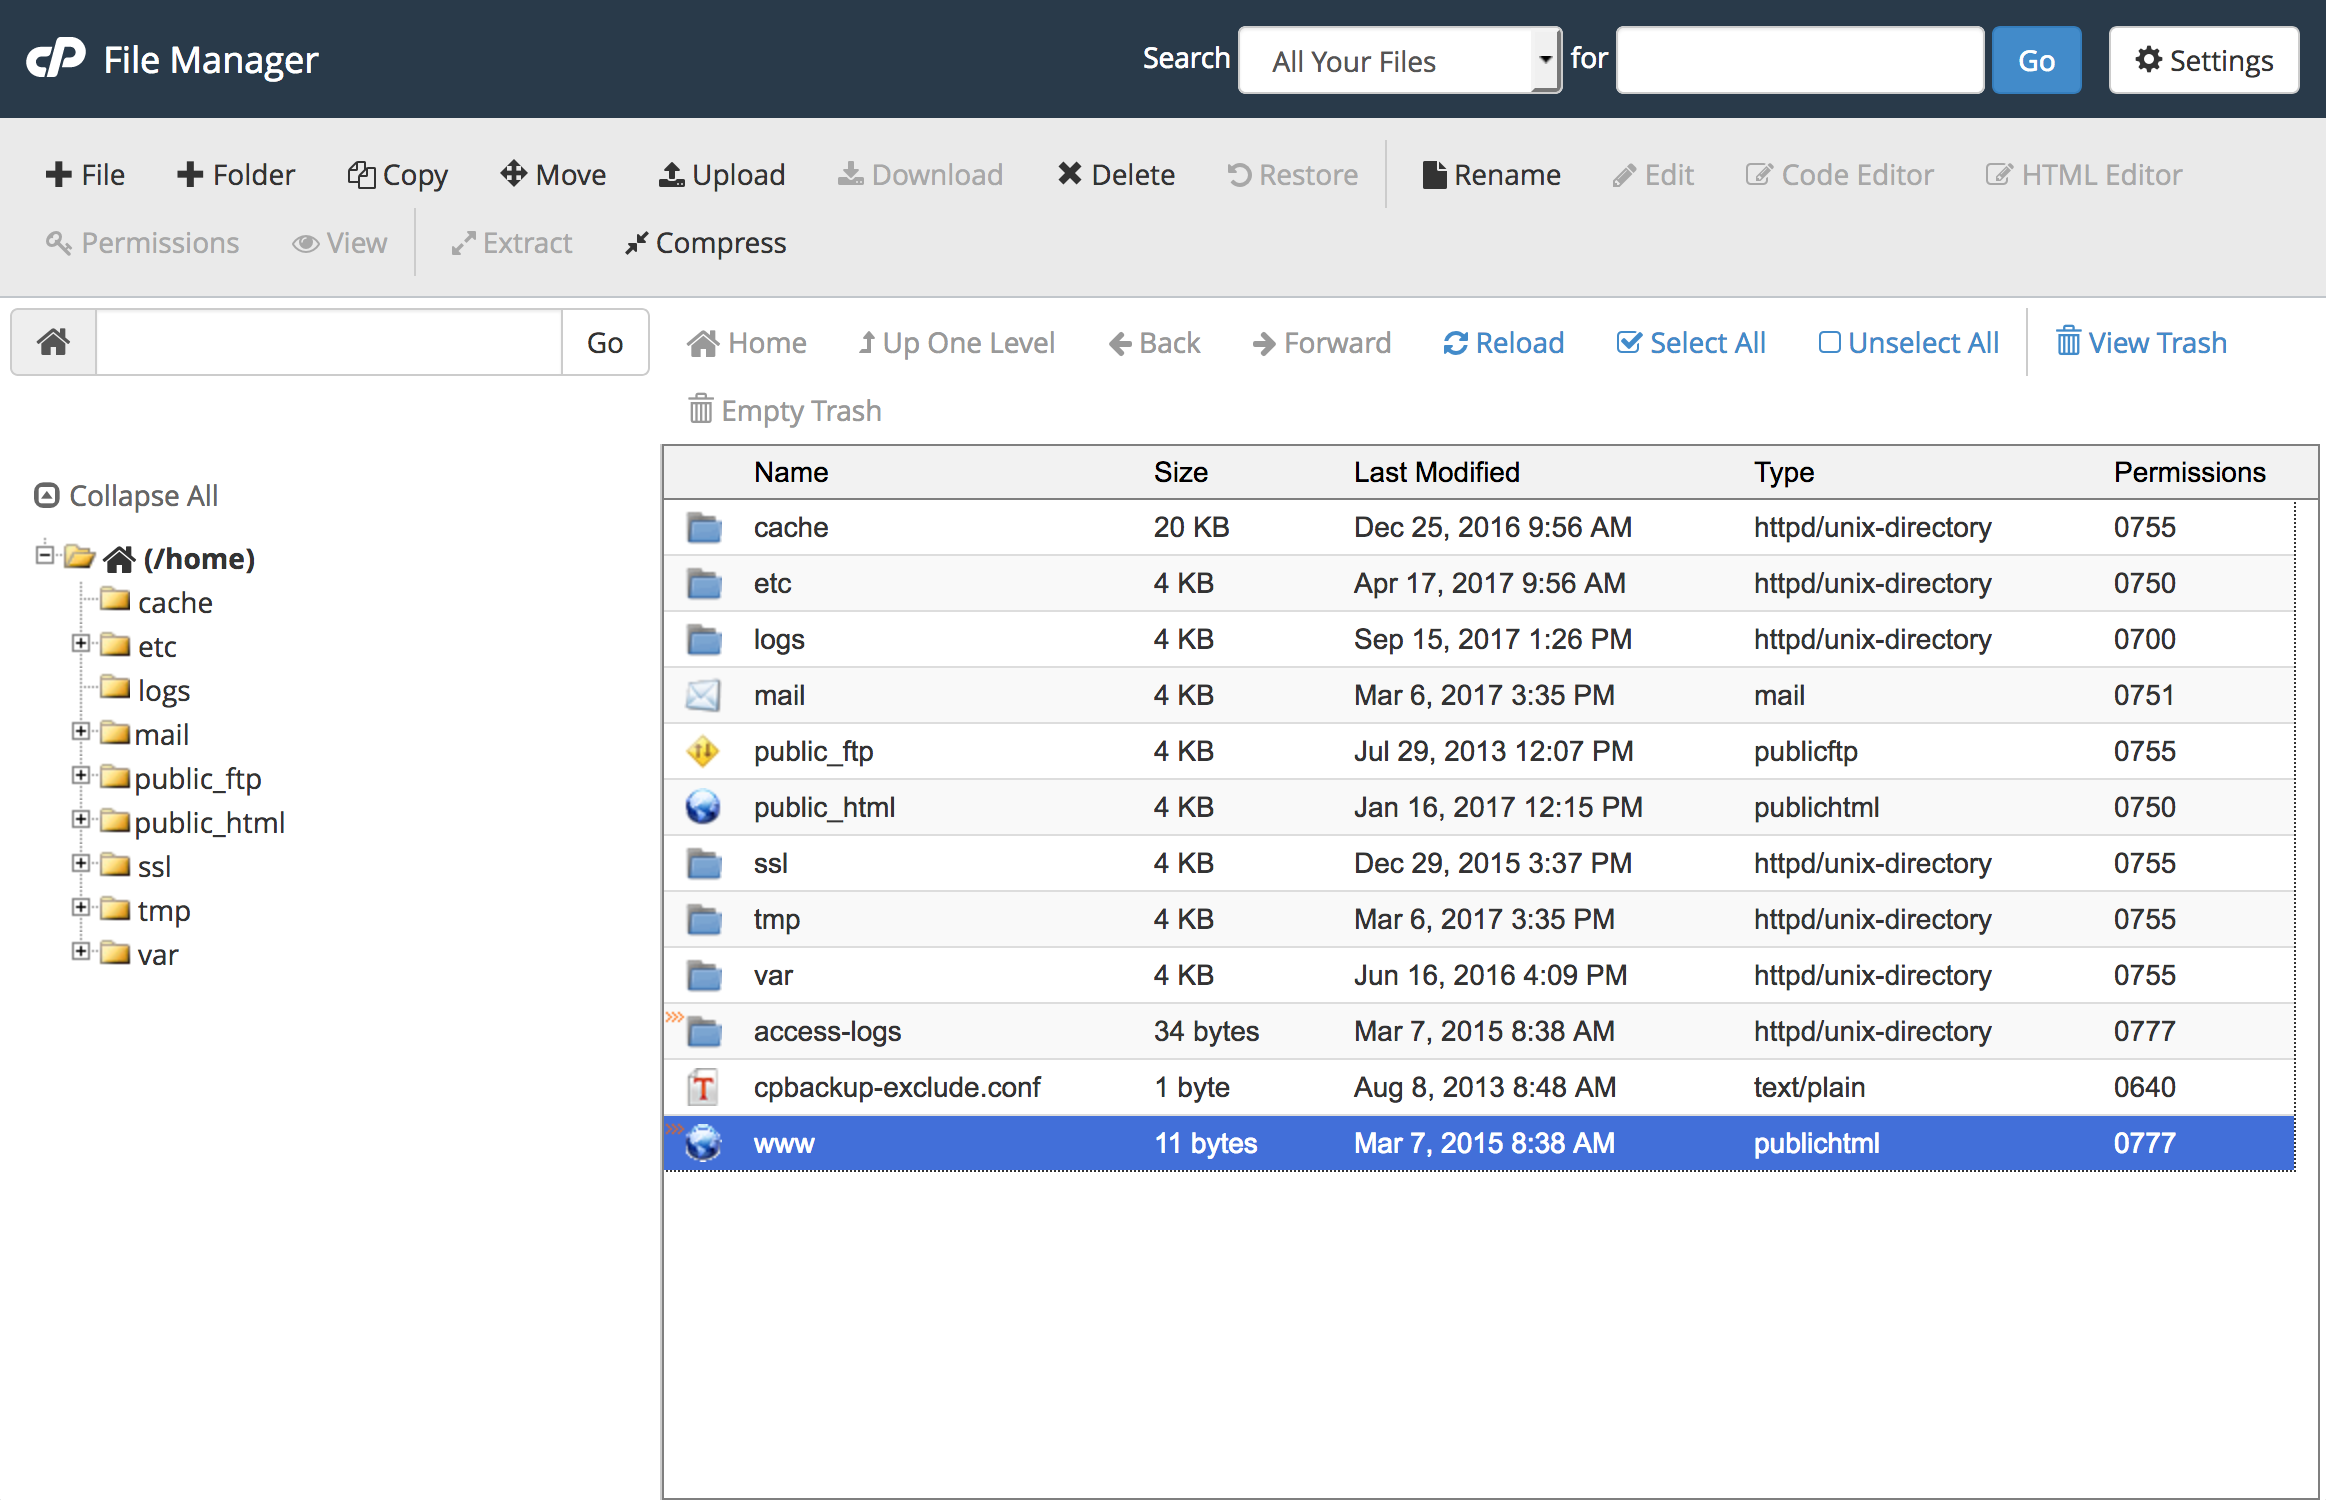
Login to your cPanel and open the file manager in the files section, to find the directory you want to use, click public_html.
-
Select the directory you want and click Upload in the toolbar.
-
Click Select File to upload the WordPress .ZIP file you downloaded and click the Go Back link at the bottom of the screen when the upload is complete.
-
To extract the files to the right place, click the WordPress file and hit the Extract button in the toolbar. At this point, a window will pop up asking where to extract the files to. You can leave this as the default directory currently in place. Click Extract File(s) to unpack everything inside the zip folder.
-
Now the files are extracted you'll see a WordPress folder in the directory. The contents of this folder need to move to complete the installation. Click on the WordPress folder to show it's files, select all to highlighted all the files and hit the MoveFile button to move them to the main root of the domain name. To do this remove the WordPress section of the file path from /public_html/wordpress to /public_html/ and click Move File(s) once you're ready.
3. Setting up your database and users
Before the installation begins, you need to create a new database in your host account. You need to do this so that WordPress can save the data necessary for your website to work properly.

-
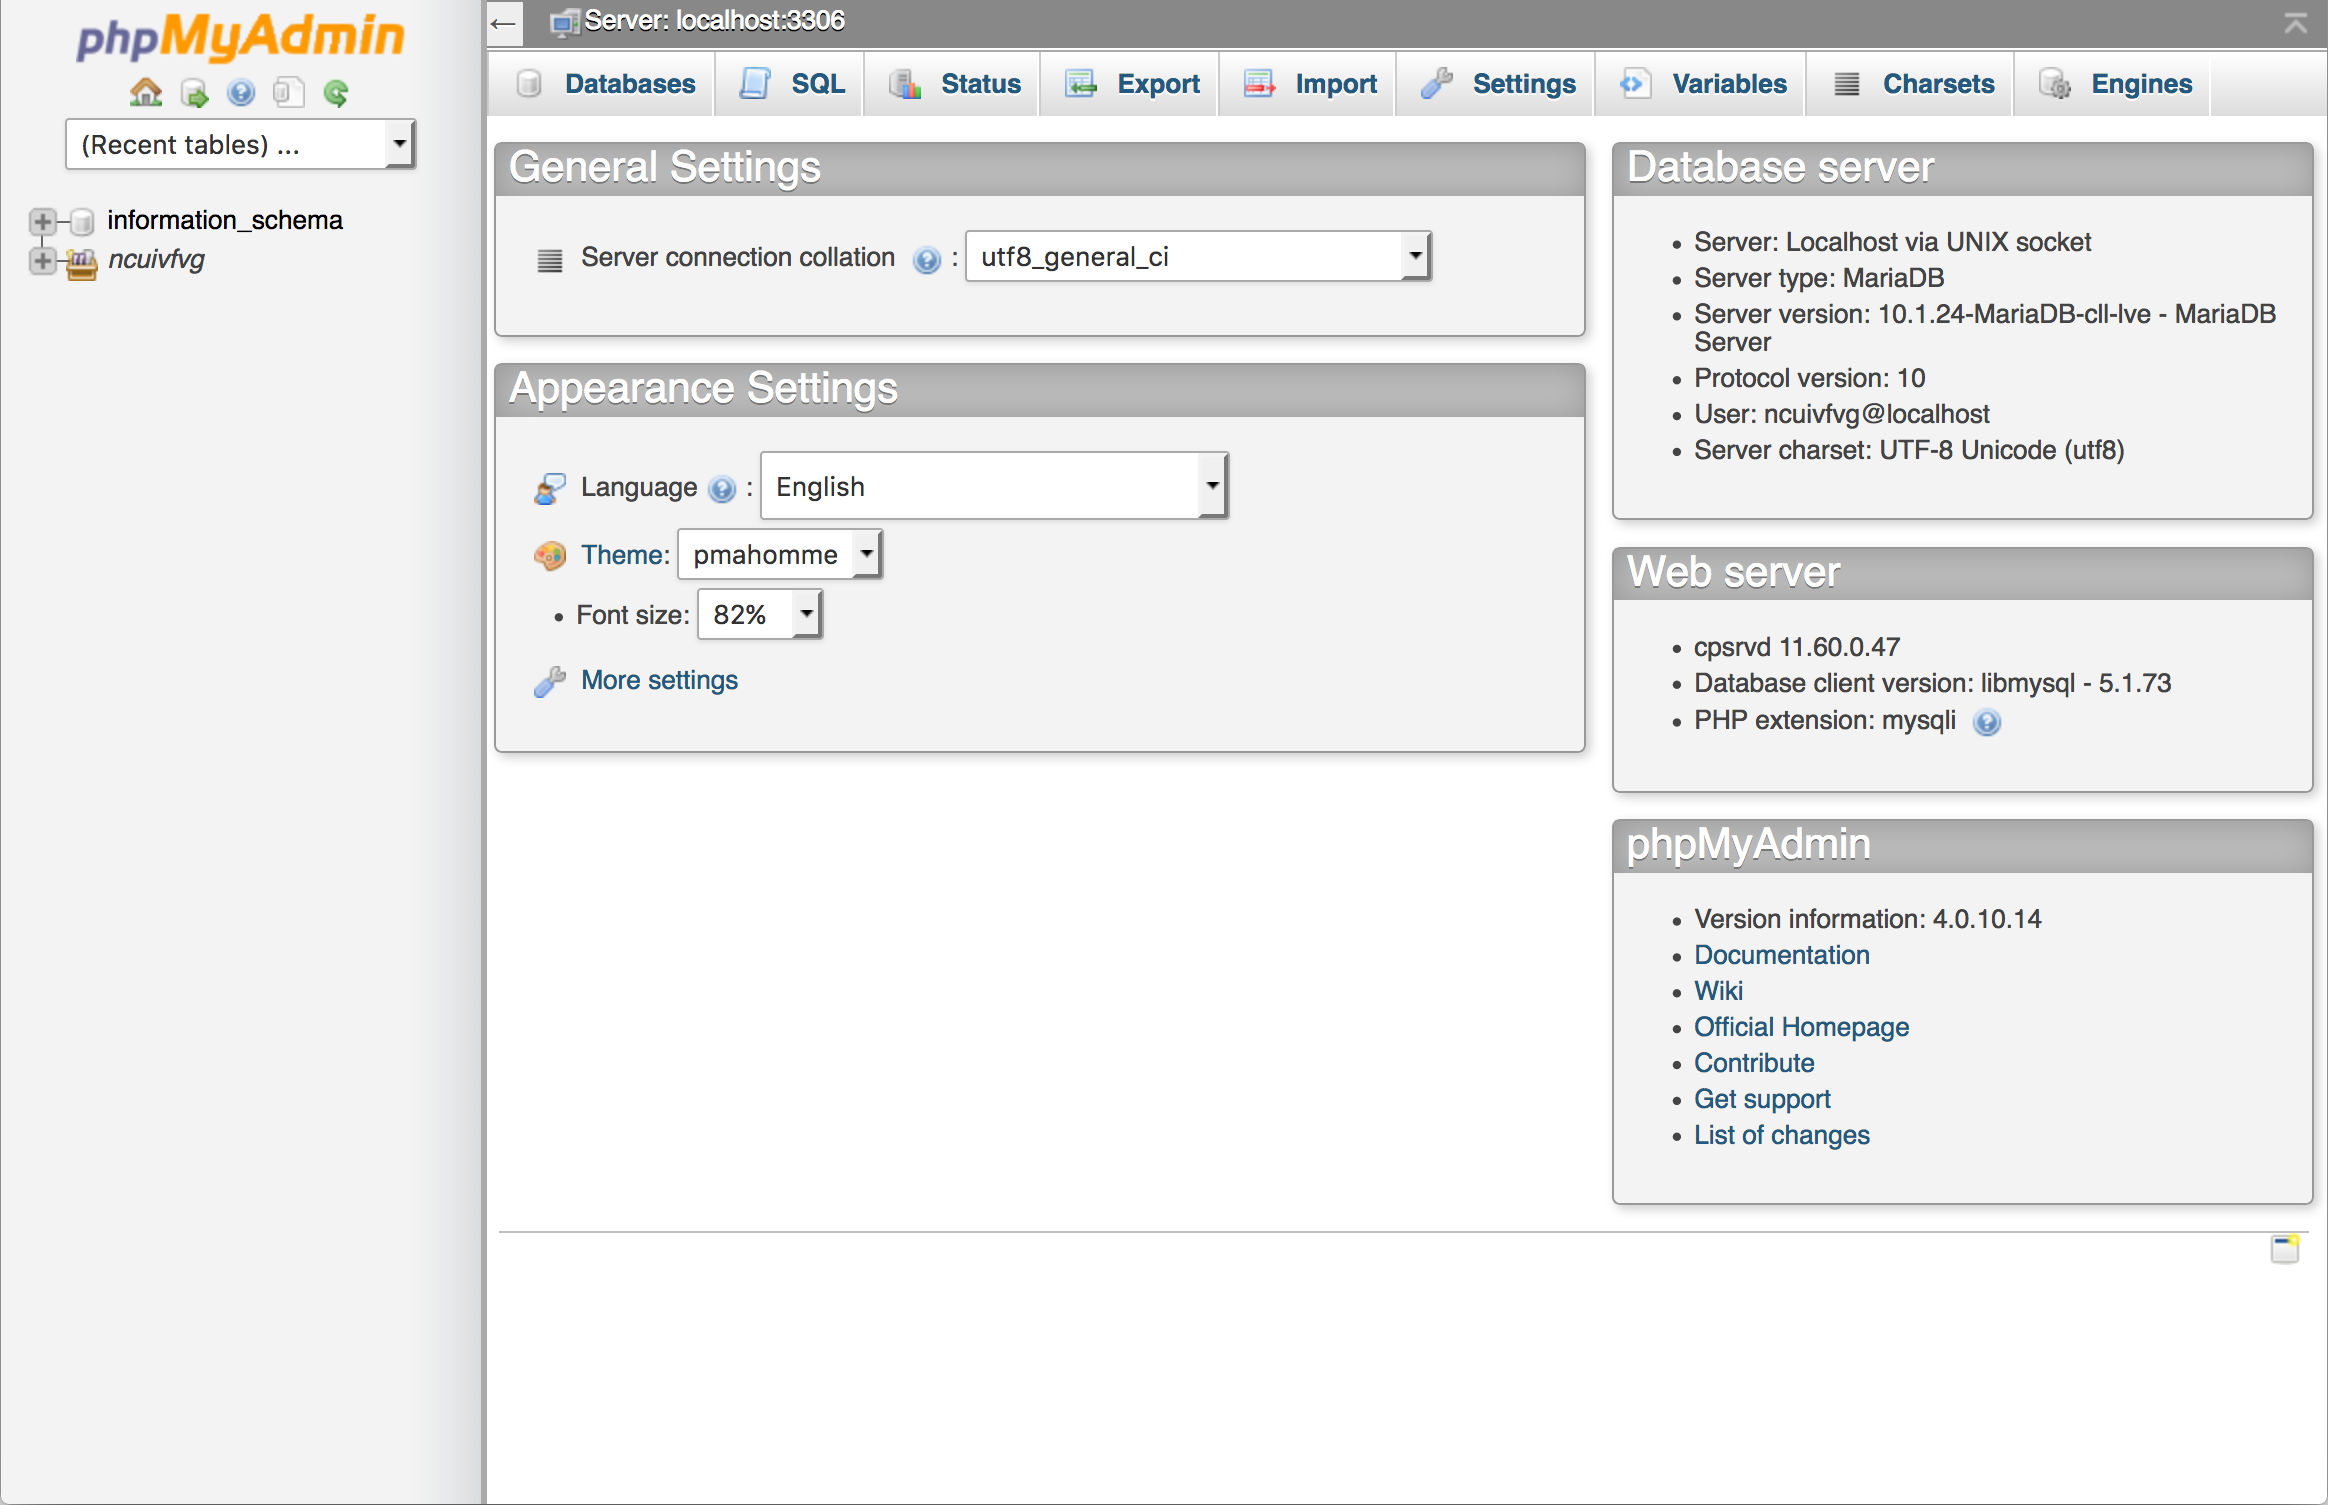
From your cPanel scroll down to Databases and click the MySQL Databases icon. Give your new database a name, keep it simple and something easy to identify for example WPmydomainname and click Next Step.
-
Now to assign a username and password, to be on the safe side don’t use the default 'admin' username and make use of the Password Generator tool. At this point, we advise you to note down your Database name, Username, and Password (we need these later) and click Create User.
-
You now need to add permissions so that the username can talk to the database. To assign privileges to your new account select the All Privileges checkbox and hit the Next Step button at the bottom of this screen to confirm. From there you’ll see a ‘You’ve successfully granted privileges to the database’ message. You’ve now set up the database part of WordPress in cPanel ready for WordPress to use it.
4. Install WordPress
Now to complete the installation process, you need to setup your website or blog.Follow these steps:

-
Head to the domain of the website you set up this WordPress installation. If your WordPress files are in the root directory, go to http://exampledomain.com/wp-admin/install.php. If you put the files in a subdirectory called myblog, for example, then head to http://exampledomain.com/myblog/wp-admin/install.php.
-
Choose your primary language and hit the Continue button. You'll now see a message from WordPress which tells you the information you need to know before installing (the same info you noted down in step 2 of setting up your database). Click Let's go! to get started.
-
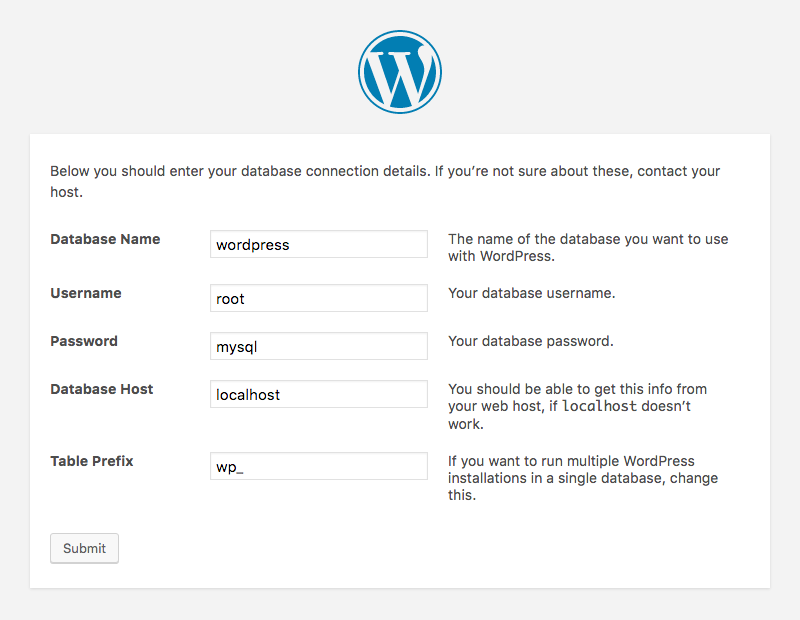
To connect your database to WordPress, you need to enter the name of your database, and the username and password you noted down earlier. You can leave database name as the default localhost. If localhost doesn’t work you should be able to get this information from your web host. The Table Prefix can also be left untouched. Click Submit once you’ve entered the information needed.
-
You’ve now reached the famous five-minute WordPress installation screen. Finalize the installation by entering some administration information. Type your websites title, your desired administrator username and choice of password, and email address into the respective fields. You’ll also notice a checkbox marked “discourage search engines from indexing this site.” This means whether you’d like to make your site visible to search engines like Google. Check this if you don’t want to search engines to display your site in their search results. Once you've filled in your information, you’re ready to click Install WordPress.
Success! You’ve installed WordPress. That’s all you have to do, click the Log in button and enter the username and password you just set. Hit Log in once more to confirm. You’re now in your site’s WordPress dashboard.