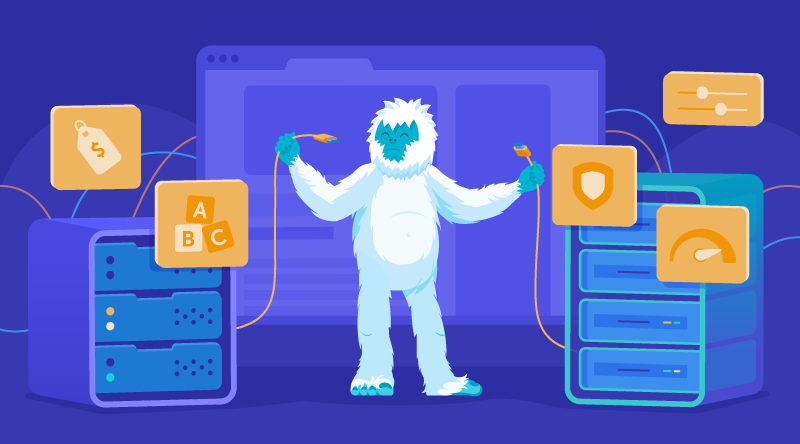
What is cPanel? Decoding the Hosting Control Panel
As a small business owner or solopreneur with an existing website (or with the intention to get one), perhaps you heard the word “cPanel” casually thrown around.
Perhaps you saw it mentioned somewhere on a hosting provider’s website, only to wonder what the heck it actually meant.
Or maybe you even have cPanel, but you’re clueless as to how to use it.
Don’t worry, you’re not alone.
What Is cPanel?
cPanel, short for control panel, is a website hosting dashboard that runs on the Linux Operating System (OS). For all you tech newbies out there, an OS is what manages the communication between your computer software and your computer hardware. (In other words, think of it as that trusted translator who ensures everything is understood and communicated properly.) Whereas Linux OS is a specific type of OS and one of the most reliable, secure, and worry-free operating systems out there, other types of OS include Microsoft Windows, Apple macOS, etc.
cPanel, widely considered the industry standard, is the control panel most used by web hosting providers (including Namecheap). Its sole purpose? To simplify the management of your website with its graphic interface.
And, when compared to other control panels out there, cPanel features a wide variety of helpful features to manage your website’s vital signs (think bandwidth, disk space, etc.) to make sure it’s running smoothly. Another plus? It’s way easier to control.
First Comes Hosting, then Comes cPanel
Like any co-dependent relationship, cPanel can’t function (or exist) without a host.
The key to unlocking your cPanel’s heart and setting your website free? Buying a hosting plan from a hosting provider who uses a Linux OS. While some hosting providers do charge an additional fee for cPanel access, Namecheap’s Shared Hosting customers receive cPanel for free.
OK, so let’s say you’ve purchased your hosting plan. How do you then log in to cPanel? (Here’s a short video on how.)
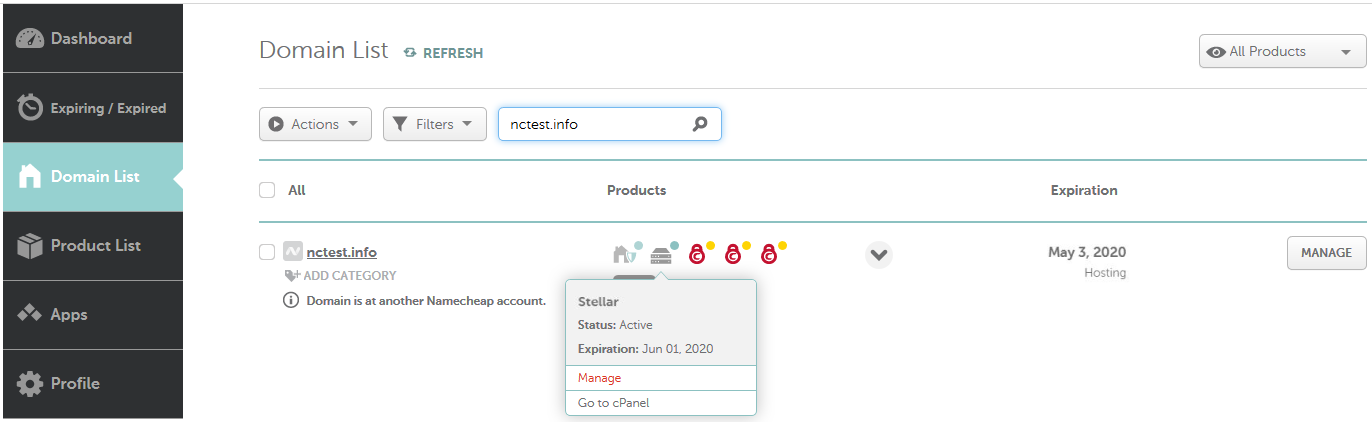
First and foremost, your hosting provider should send you a welcome email with a direct link to access cPanel. (If you can’t find it, don’t stress. Just follow up with their customer support who should be more than happy to help you out.) If you’re a Shared Hosting customer with Namecheap, for example, you can log in to cPanel through your Namecheap account, as pictured below.
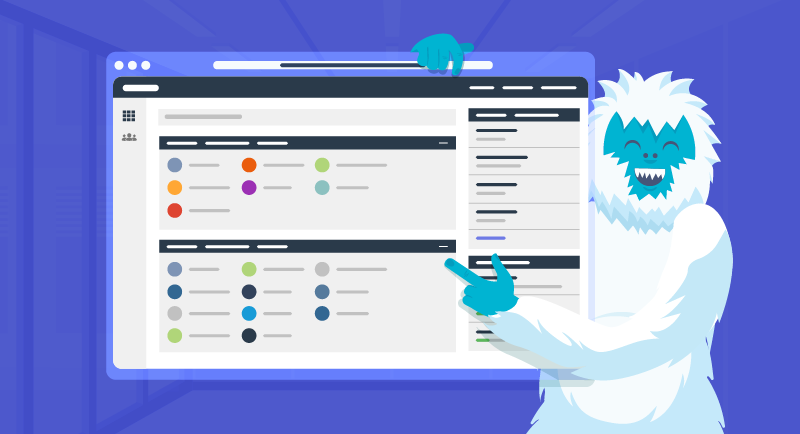
Once you’ve successfully logged in with your details, you’ll then see the main cPanel dashboard, which is visually divided into two panels: the left and the right.
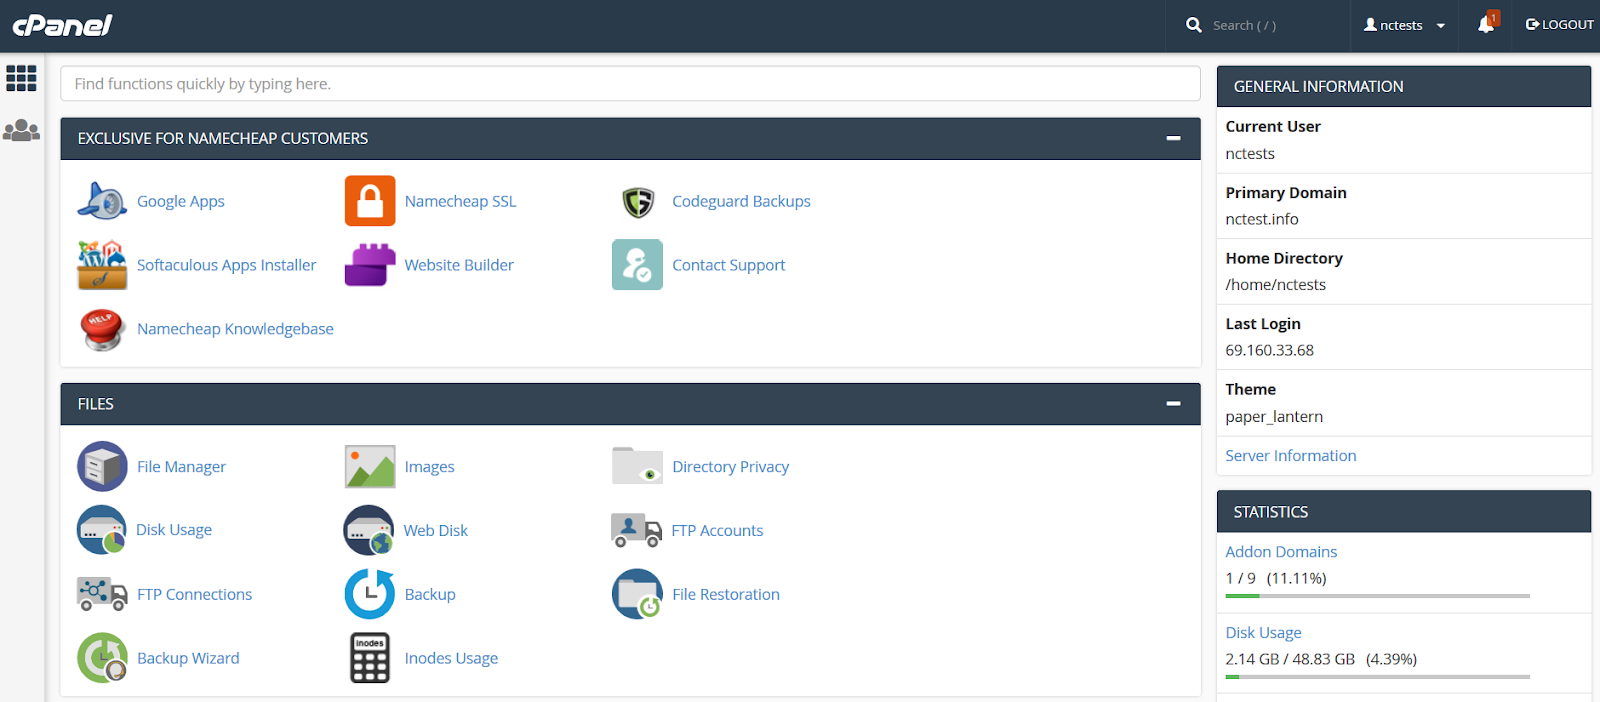
While the right panel gives you a quick overview of your website when you’re on the go (showing you statistics like when you last logged in, etc.) the right panel is where all the “categories” live. These categories consist of menus that are divided into sections, which include but are not limited to: preferences, email, files, backups, and logs.
How to Use cPanel
As a cPanel beginner, it might seem overwhelming at first with all the features at your disposal. That’s why we’ve narrowed down the top 5 you’ll want to start using, right away.
1. Install & create your website
If you’re a Namecheap Shared Hosting customer, you’ll definitely want to take advantage of the exclusive tools available within cPanel, especially the free Website Builder.

Website Builder gives you the freedom to either build your website from scratch or edit an existing website design. Featuring a visual editing interface with simple drag-and-drop solutions, it’s easy to add such elements as images, text, videos, etc.
The result? An aesthetically-pleasing, easy-to-use website that is up and running in virtually no time at all.
If you prefer to build websites using a CMS like WordPress, you can install this website-building platform in just a few clicks using the Softaculous Apps installer. This is your go-to tool for automatically installing 450+ software applications to your hosting plan, including the ever-popular WordPress and the e-commerce favorite, Magento.

Since the installer is automatic, you don’t have to worry about any manual installations (whew!). To specifically install WordPress, just locate the Softaculous tool and click on the WordPress button. And voila, you’re ready to start publishing. For more, see How To Install WordPress Using Softaculous.
2. Upload & manage your website files
While tech-savvy folks might prefer to upload and manage their website files using File Transfer Protocol (FTP), cPanel also provides a tool for basic file management.
Aptly called “File Manager,” which is also located in the category section, it allows you to upload website files, create and/or delete them, organize them into folders or even change file permissions.

If you want to upload website files for the main domain name that your hosting plan is connected to, keep in mind that you should upload those files to the “public_html” folder. This index file for your website should be located in this folder. If you put files in some other folder or in archive, your website browser will not be able to read them.
Although File Manager is not a substitute for FTP, this simple web interface — which features two panels with various tasks to select from — is pretty comprehensive and will get the job done.
To access File Manager, look for it under the Files category. Once you click on the button, you’ll be able to perform various actions such as uploading, downloading, editing, and even coding — if you fancy yourself a developer. Need a visual? Here’s a short video on how to access File Manager if you’re a Namecheap customer.
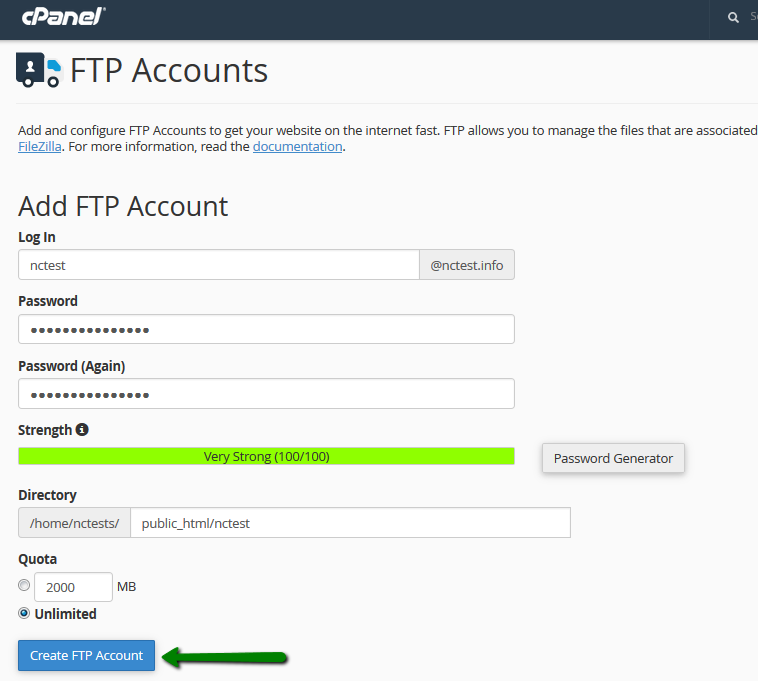
If you still fancy website upload through FTP or want to give restricted access to a specific folder to your developer, you can create FTP accounts in the “FTP accounts” menu.

This menu allows you to create FTP accounts with permissions to different folders. So if you want your developer to access only some specific website files, you just create an account that has access to that website folder.
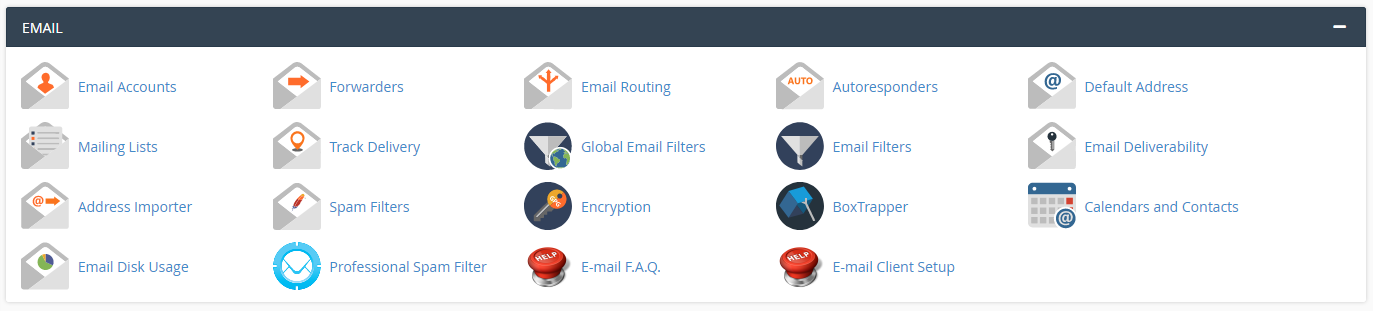
3. Create & manage your email accounts
Out of all the useful features available to you in cPanel, email is certainly the most widely used.
If you want to create an email account that reflects your chosen domain name and you don’t yet have a separate email provider, using cPanel’s email solution is a great option.
Whether filtering out harmful spam, setting up your automatic response message or configuring your mailbox with your preferred email client (think Outlook or Google Mail), cPanel has got all your basic email needs covered.
If you’re a Namecheap Shared Hosting customer, here’s how to get started with creating your email account.
4. Create & add domain names/subdomains
To properly manage your domain name(s), which is how your users can find you on the Internet by typing in your address (e.g. example.com), the “Domains” section in cPanel lets you create two different types of domain names:
- Addon Domain Names – Refers to separate domain names (e.g. example.com or newusers.com).
- Subdomain Names – Refers to additional domain names that are directly related to your domain name (e.g. blog.example.com or blog.newusers.com).

If you’d like to add more domain names to your cPanel, feel free to check out this short video.
In addition to creating and adding these domain names, you can also set up URL redirects and manage your Domain Name Server (DNS) settings. (DNS is essentially a directory of names that match IP addresses, which computers use to communicate with each other.)
5. Back up your website data
In order to avoid the worst-case scenario, i.e. where your computer crashes or your website gets infected with malware, you can use your trusty cPanel to help back up and keep your website data safe.
(For a rundown on why you need to start backing up your website data in the first place, feel free to read through my previous article.)
Located under “File Manager,” here you have the option to run full or partial backups. The bottom line? We recommend Namecheap’s Shared Hosting, which features the free AutoBackup Tool, which is included only with premium plans (Stellar Plus and Stellar Business).

Unlocking cPanel’s Main Advantages
So now that you know what cPanel can do, why should you use it? In case you needed any further convincing, here’s a rundown of the main advantages:
- It’s user-friendly. With such tools as Softaculous, adding WordPress or e-commerce apps takes virtually no time at all.
- It’s easy to maintain. Keeping cPanel up to date and secure is a breeze.
- It’s scalable. cPanel is compatible with most types of hosting. Because when business grows, your cPanel comes along for the ride.
- It’s easy on your wallet. If you’re a Namecheap Shared Hosting customer, remember that cPanel is included for free. If you decide to go with a different hosting provider, a cPanel license usually comes at an additional cost.
Final Thoughts
See? cPanel isn’t all that scary.
Although most hosting customers will only use cPanel to perform basic administrative tasks, there are plenty of advanced features, too. Like what, you may ask? Website statistics, for one, which gives you a detailed overview of who is actually visiting your website.
That’s why cPanel’s visitors’ menu displays up to 1,000 of the most recent entries while AW Stats displays a variety of details about your website’s visitors such as monthly, daily, and hourly averages in graphs and tables, browser information, locales of origins, etc.
And remember that with cPanel, you don’t need to be a technical wizard. You’re able to make all your changes from one dashboard and easily manage your website.
So, what’s your experience been with cPanel? Was there anything in particular that surprised you or made your life easier? Let us know in the comments!