Dynamic DNS is a feature that allows you to point a domain to any IP, and the changes are almost immediate. It is available only for the domains pointed to our BasicDNS, PremiumDNS or FreeDNS.
For example, you have a server at home and host a website on your computer. If you don’t have a static IP, that is, the IP changes each time you reconnect, you can set up Dynamic DNS for the domain for these purposes.
In order to enable Dynamic DNS for your domain, follow the instructions below:
1. Sign into your Namecheap account (The Sign In option is available in the header of the page).
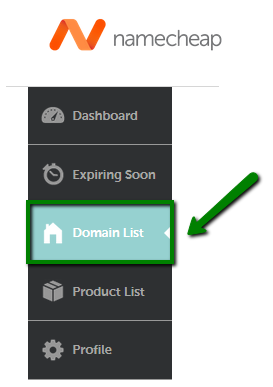
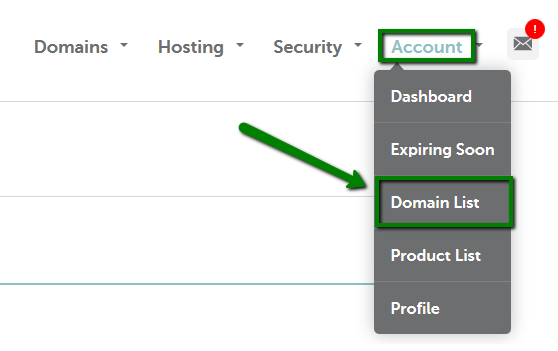
2. Mouse over the Account option in the upper right corner of the page and choose Domain List or select the Domain List menu in the left sidebar:
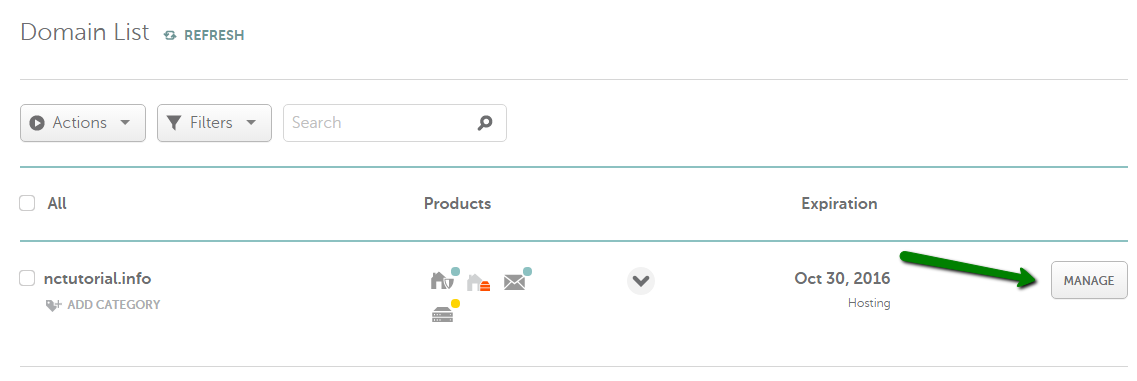
3. Click on the Manage option in front of the domain name you would like to enable Dynamic DNS for:
4. Click on the Advanced DNS tab and find the Dynamic DNS section:
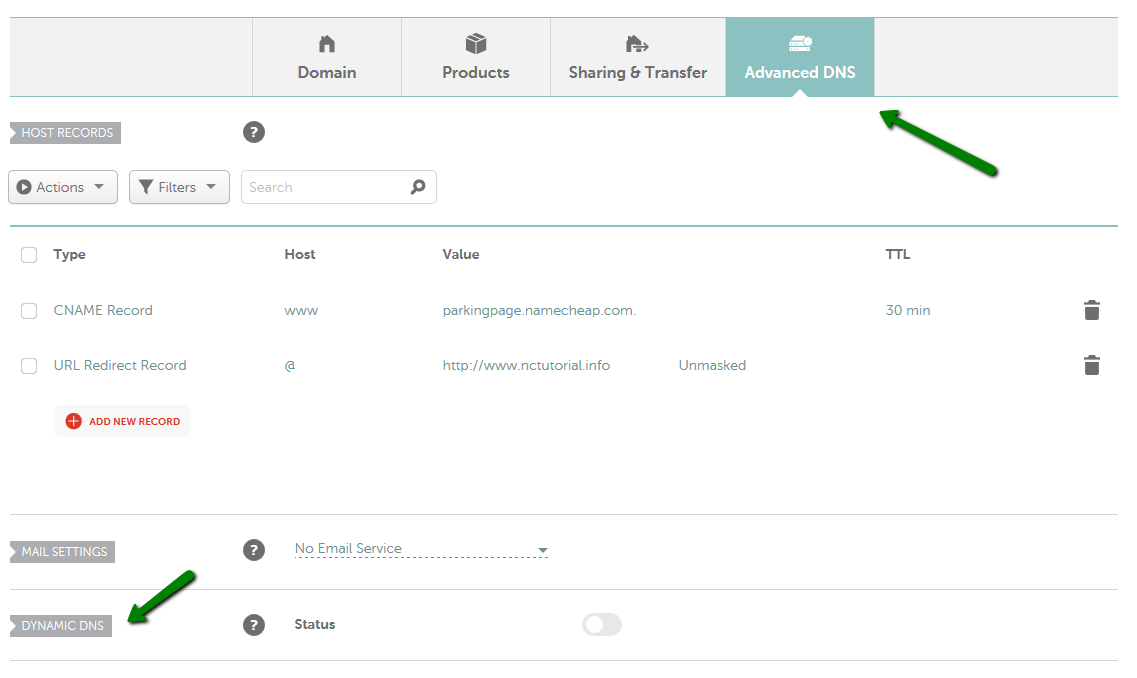
5. Toggle the button to enable the Dynamic DNS feature:

6. In order to check the password that should be used in your Dynamic DNS client, mouse over the circle for Dynamic DNS Password:

That's it!
If you have any questions, feel free to contact our Support Team.
