U.S. DollarEuroBritish PoundCanadian DollarsAustralian DollarsIndian RupeesChina Yuan RMBMore Info →
How to install WordPress using Softaculous
Once you order hosting service, you can start creating your own website. Using Softaculous automatic app installer you can install WordPress in a few clicks.
Below you can find step-by-step guidelines covering the process:
1. Log into your cPanel.
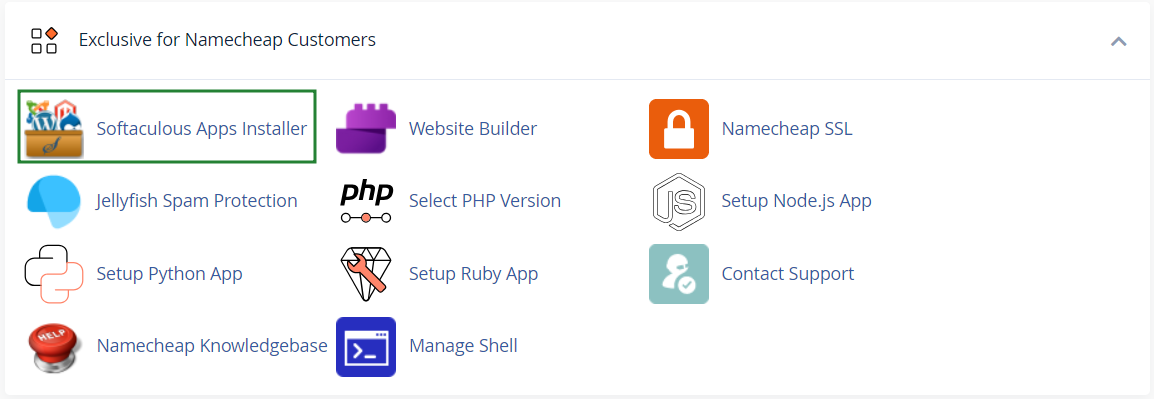
2. Navigate to Exclusive for Namecheap customers section > Softaculous Apps Installer menu:
3. On the homepage, click Install under the WordPress icon:
4. On the next page you will need to fill out the details of your WordPress installation.
Choose the domain you wish to install WordPress for.
In the In Directory field you can specify the root folder for WordPress installation.
By default, this field is empty, and it allows installing WordPress on yourdomain.com directly. If you wish to install it to a subfolder, like yourdomain.com/blog, simply type "blog" in this field.
Choose the version of WordPress you want to install.
Database Name can be left default.
Table Prefix can also be left default wp_; however, due to security reasons it is better to change it, e.g., to ncwpsite_ .
The Site Settings section should be filled out accordingly to your needs, though you can change it anytime later if required.
Make sure you set up secure and hard-to guess details in the Admin Account section:
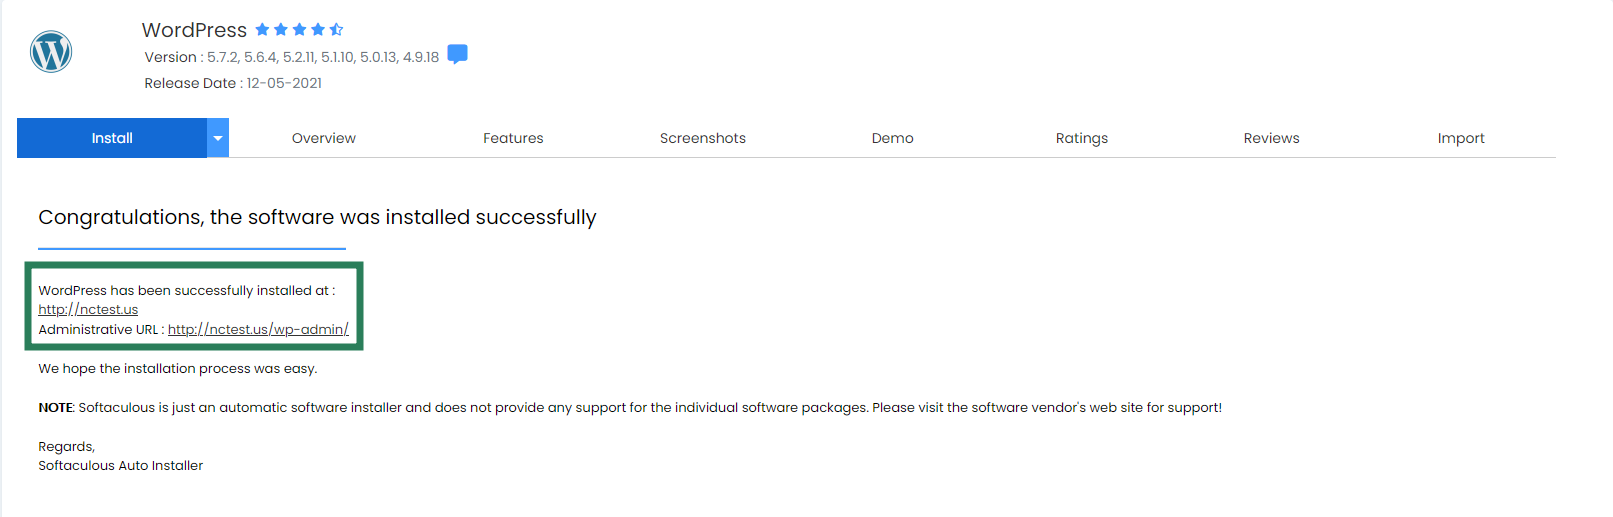
5. When ready, scroll down and hit Install. In a few moments you will see the message that WordPress has been successfully installed:
You can now go ahead and log into your WordPress Dashboard to start working on your website.
For your convenience we have created a category dedicated to the most frequent WordPress-related questions – cPanel: WordPress